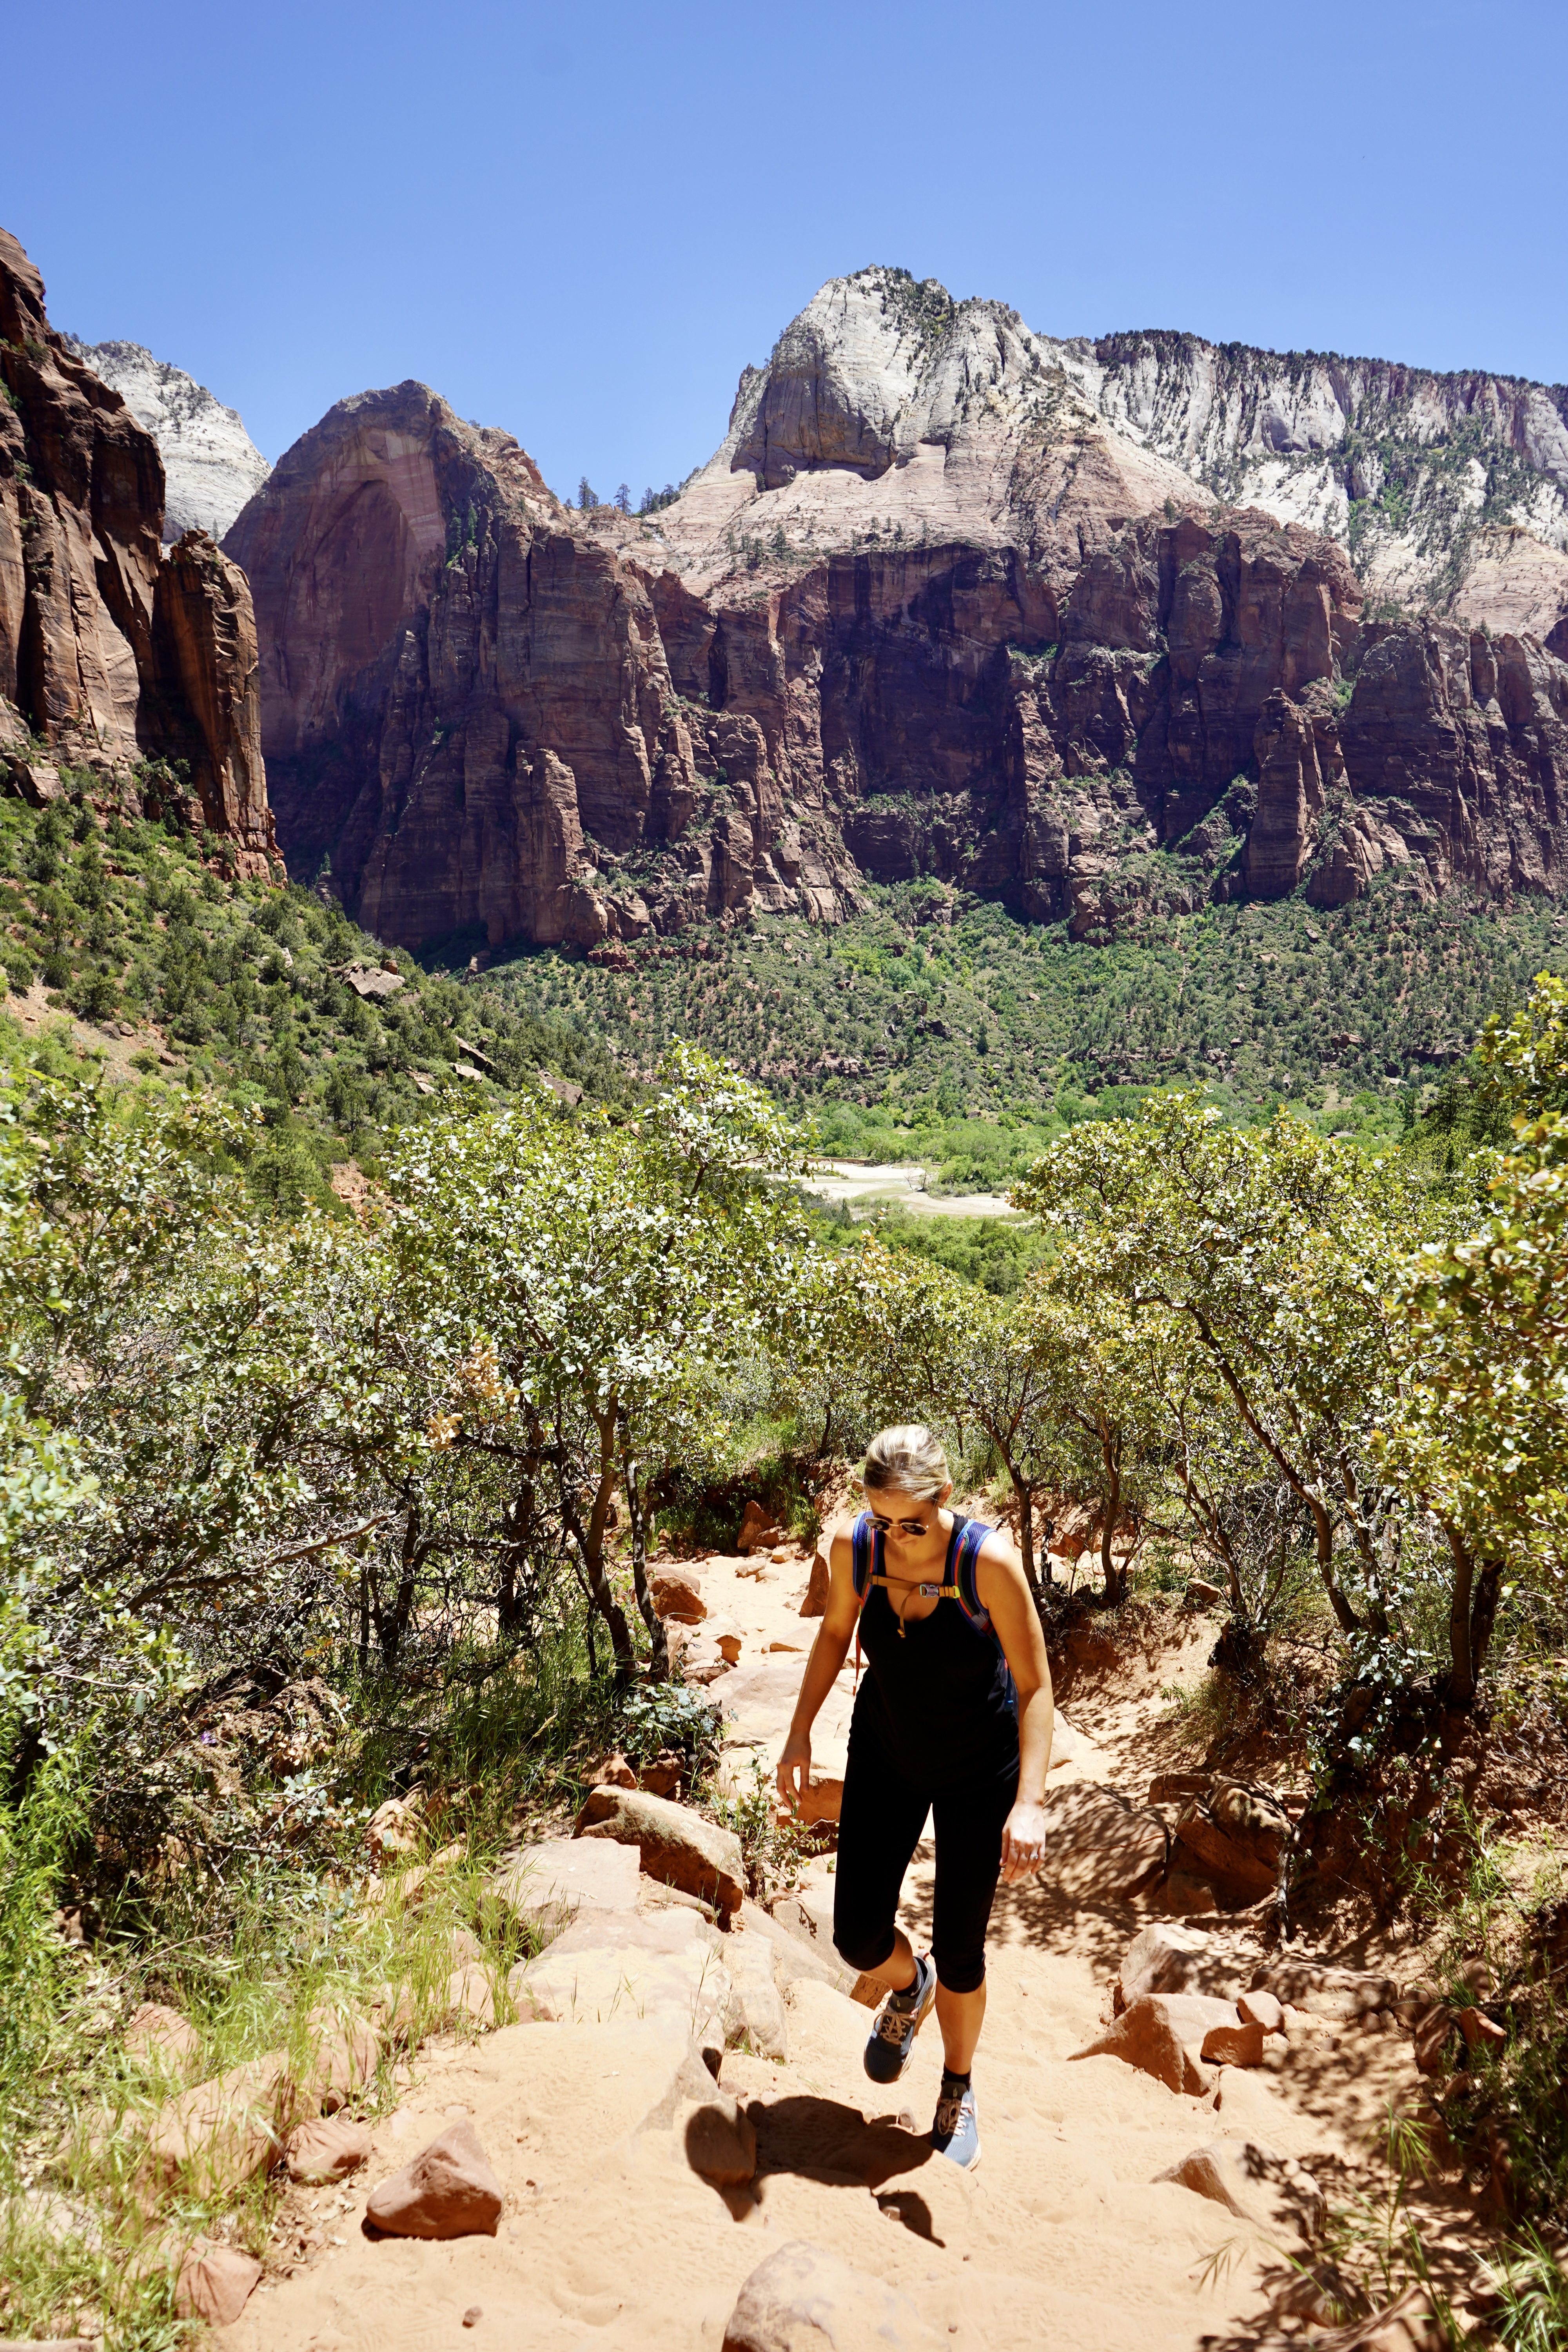
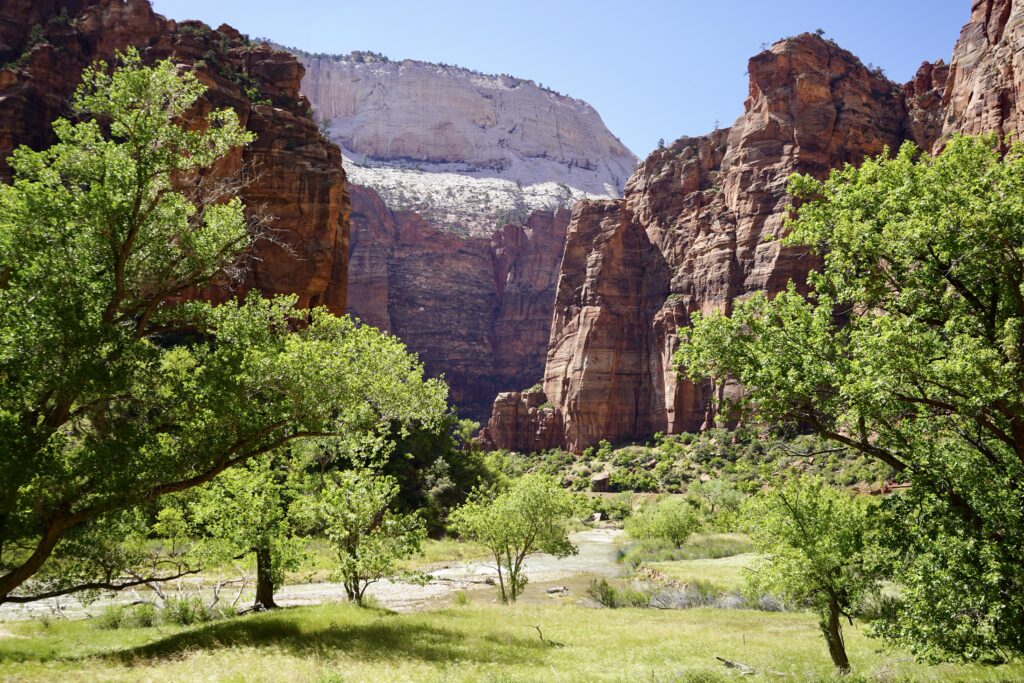
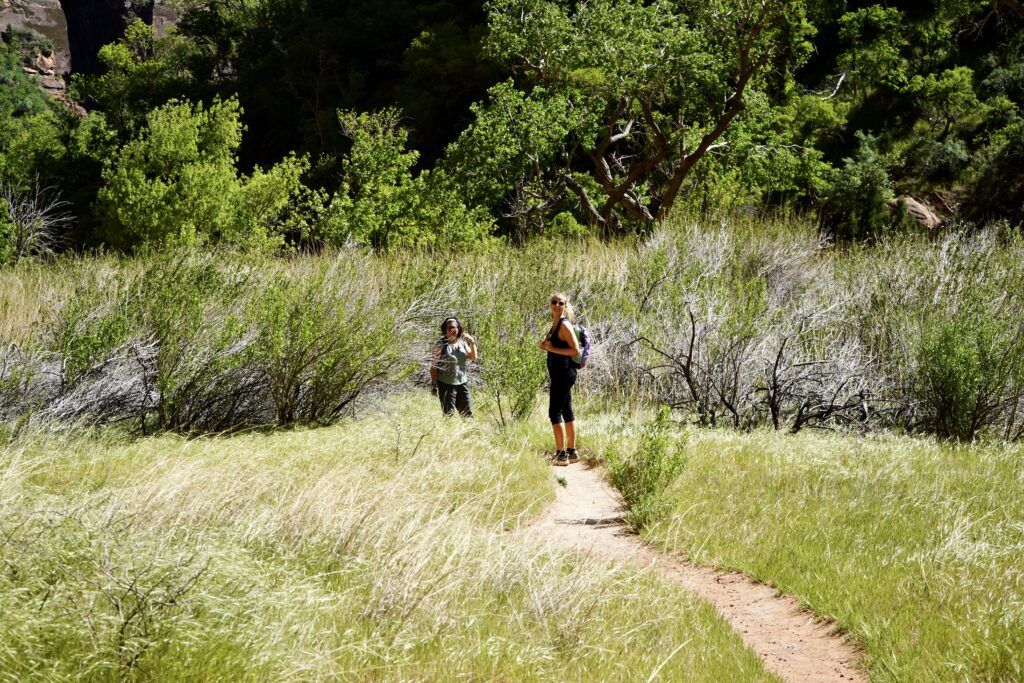
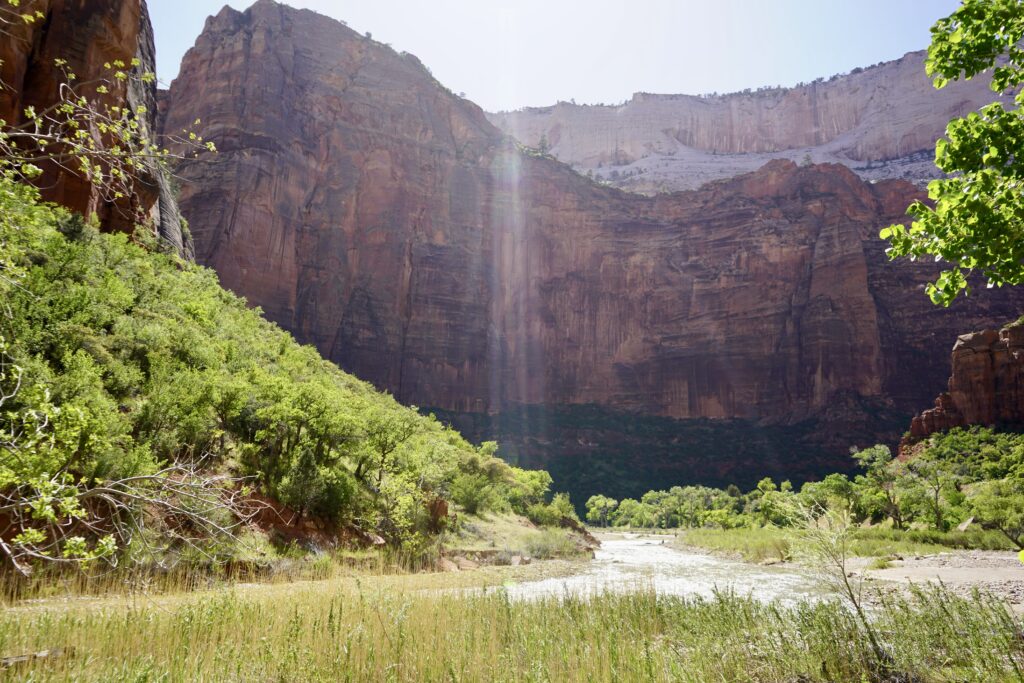
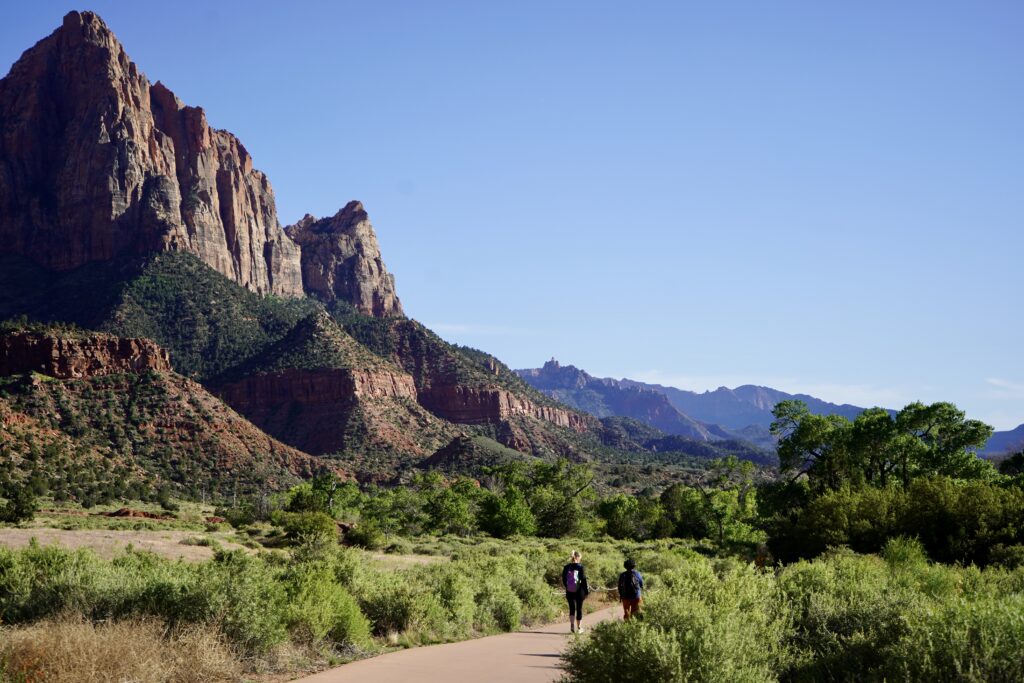
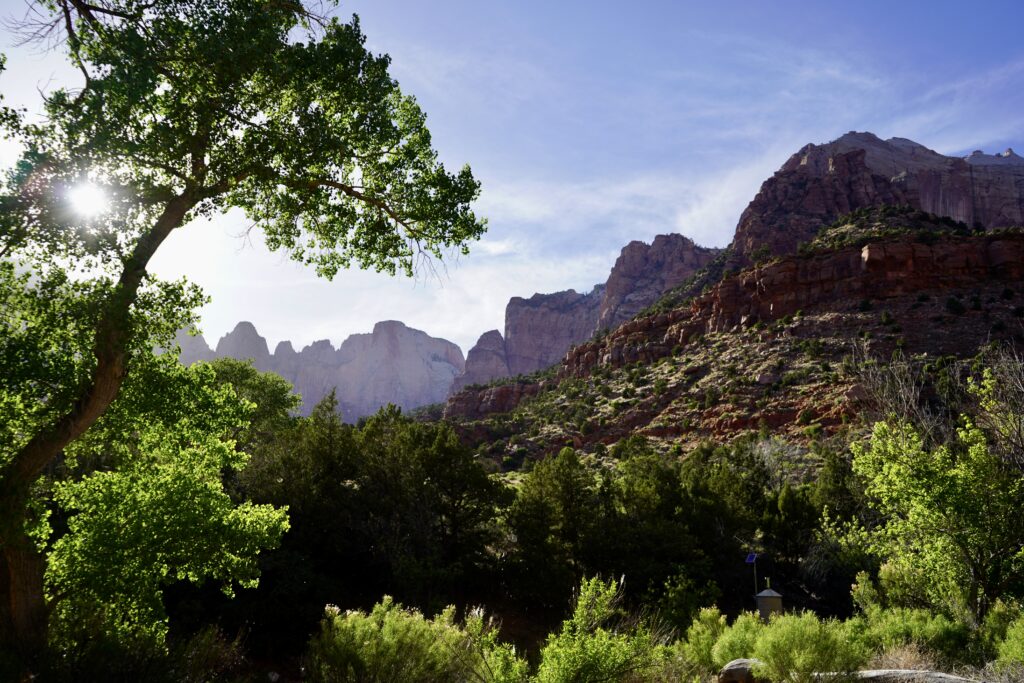
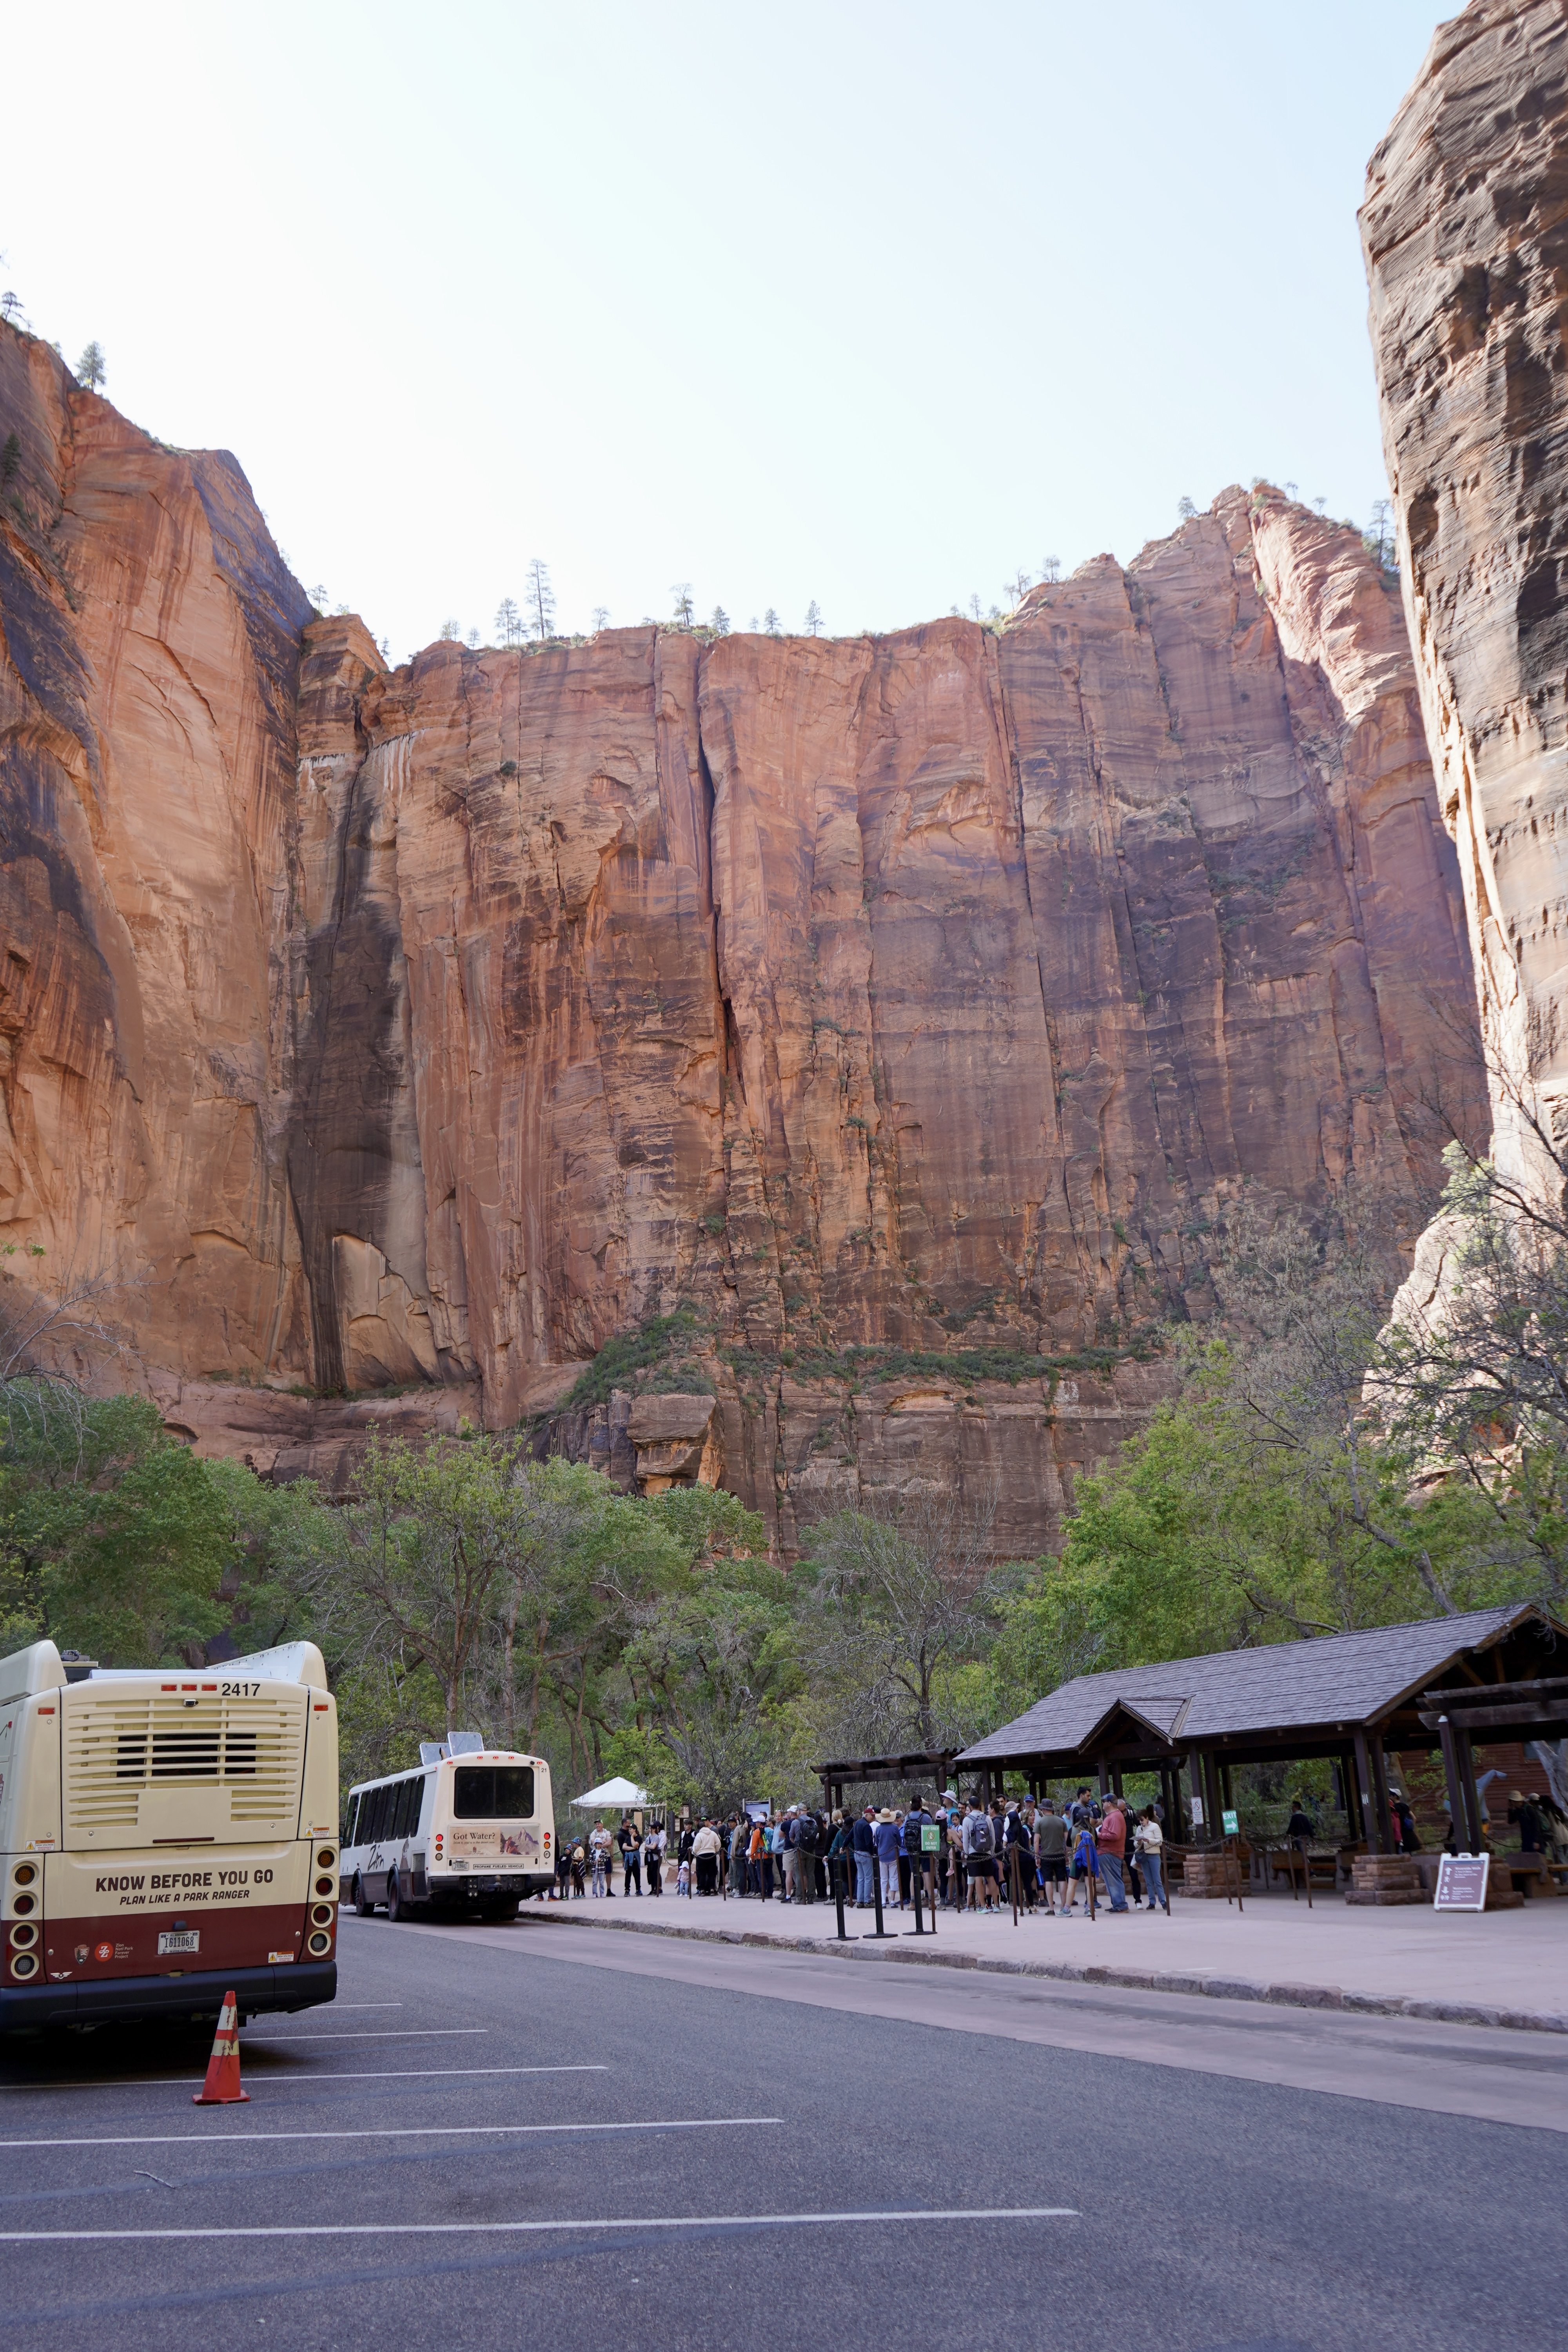
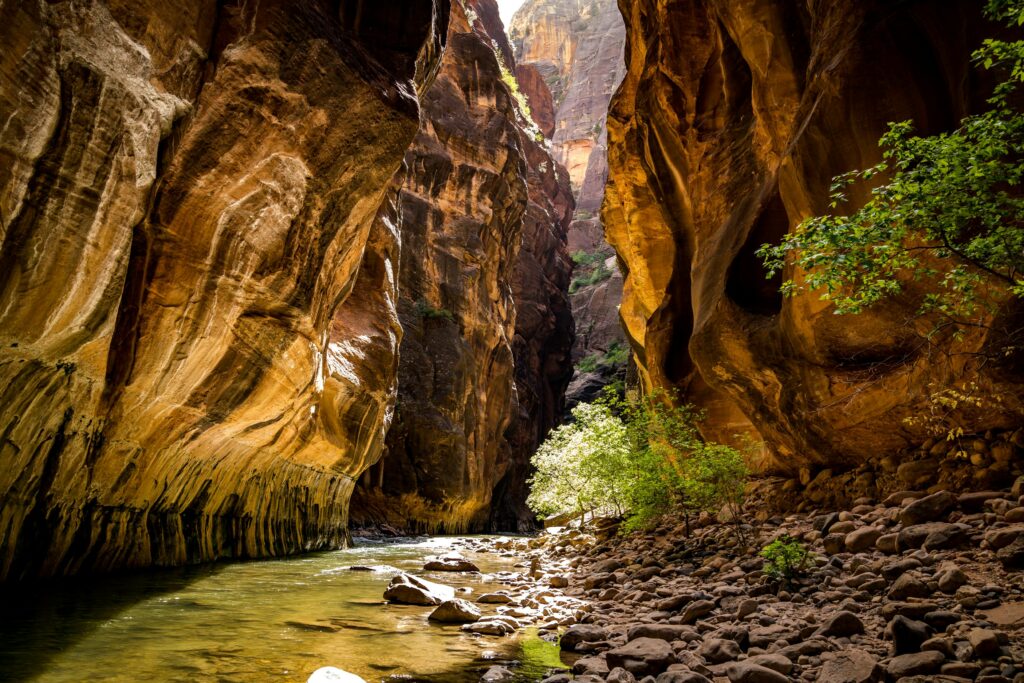
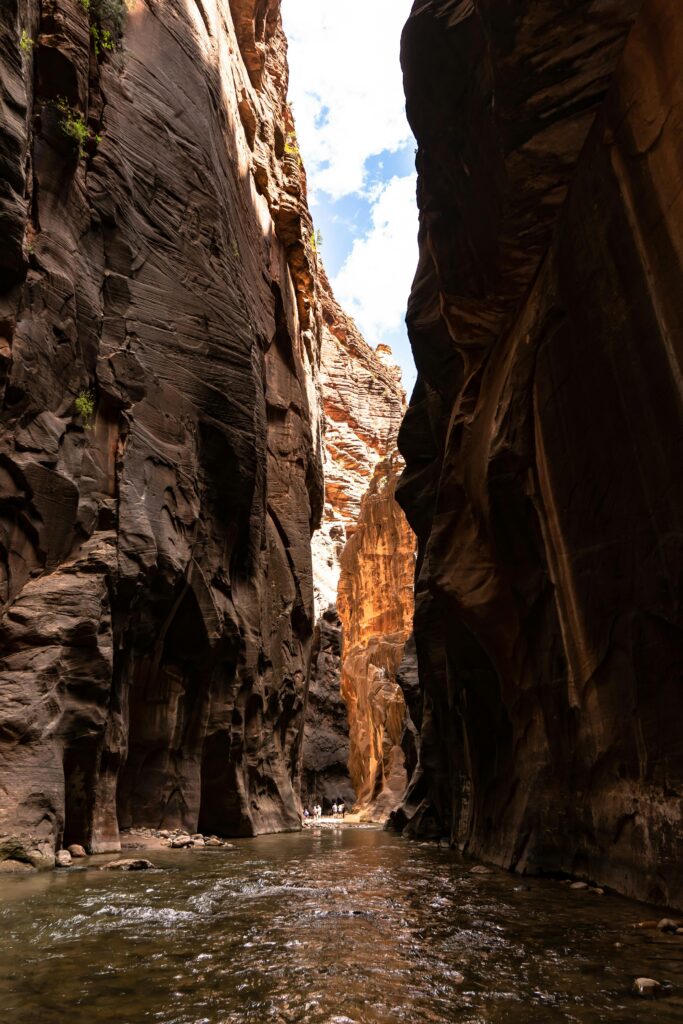
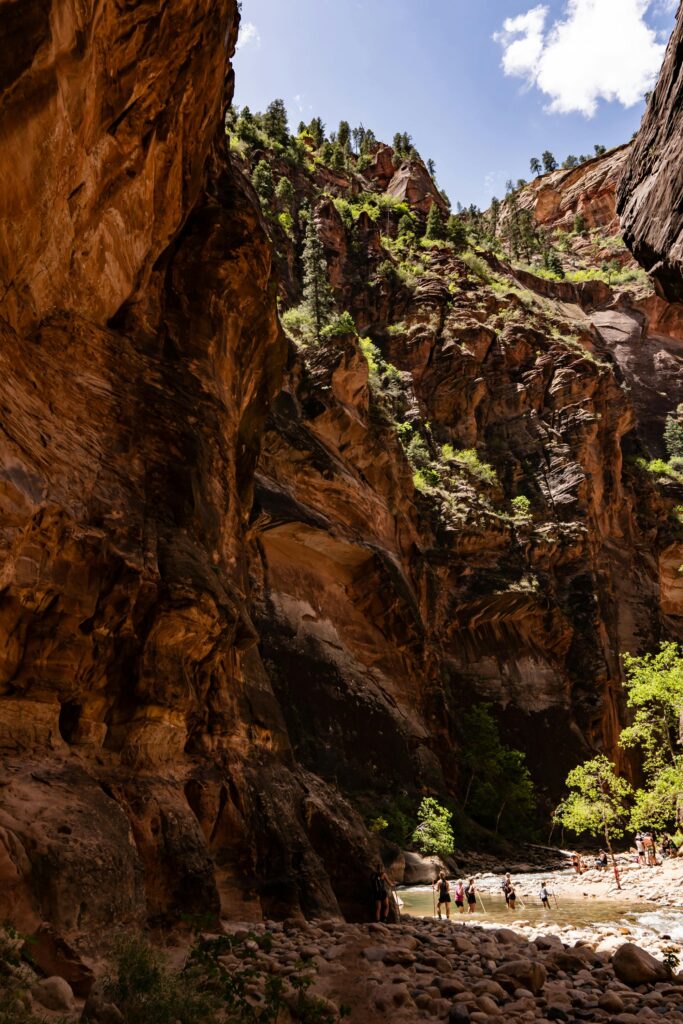
Zion National Park is a stunning and diverse landscape located in southwestern Utah. Characterized by varied plant and animal life, narrow slot canyons, lush river valleys and towering sandstone cliffs, the unique ecology of Zion National Park makes it one of the most visited and sought-after natural places in the entire United States. In this post, we will provide invaluable perspectives and insights from our recent trip to help you craft your ultimate 3 day Zion National Park Itinerary! Note that specifics on where to stay and understanding the free shuttle system can be found at the end of this post.
Ultimate 3 Day Zion National Park Itinerary
Day 1: (Kolob Canyons and East Zion)
Start your first day with some breakfast at Oscar’s Cafe. Oscar’s Cafe is a staple breakfast, lunch and dinner location in the heart of Springdale. Opening at 7 AM, this popular dining spot has a delectable southwestern/mexican menu (we went here twice on our recent trip) with both indoor and outdoor seating options.
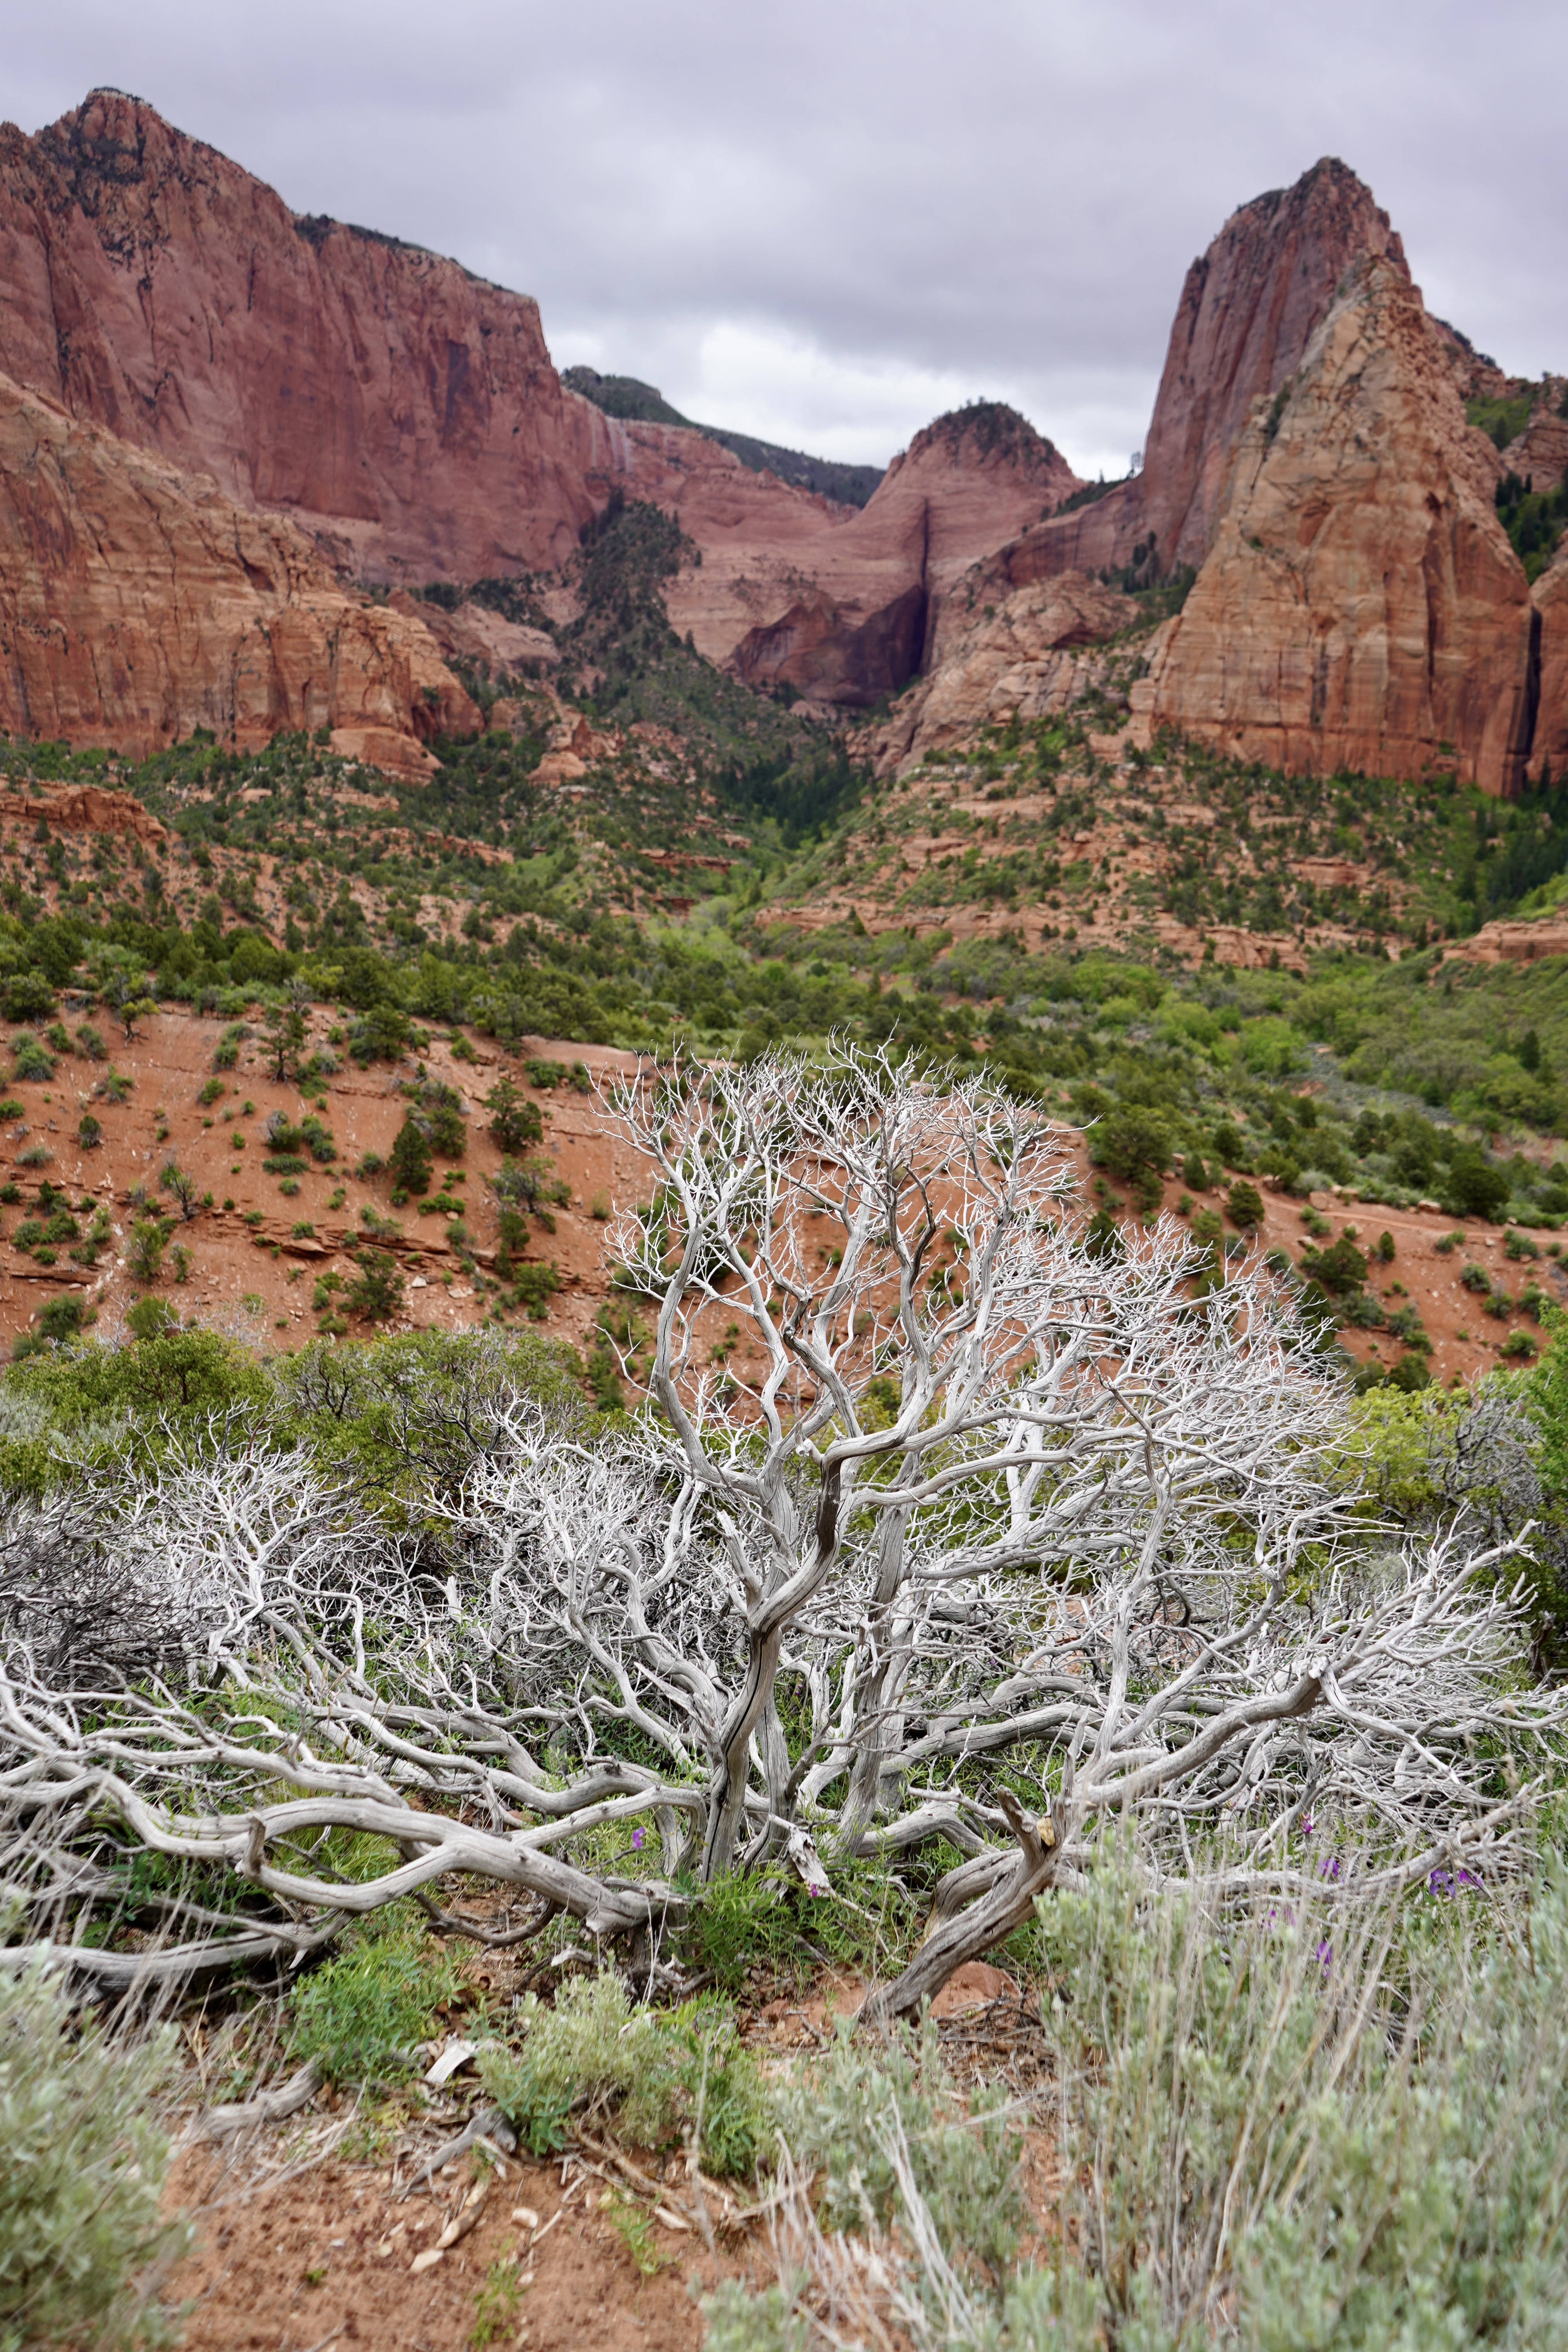
After breakfast, drive approximately 45 minutes to the Kolob Canyons Visitor Center. This Visitor Center is open 8A-5P daily and is a great way to start exploring this section of the park. Kolob Canyons is the less visited northwest segment of the park. It is more remote, has its own entrance, and offers a more peaceful viewing experience than other more crowded destinations.
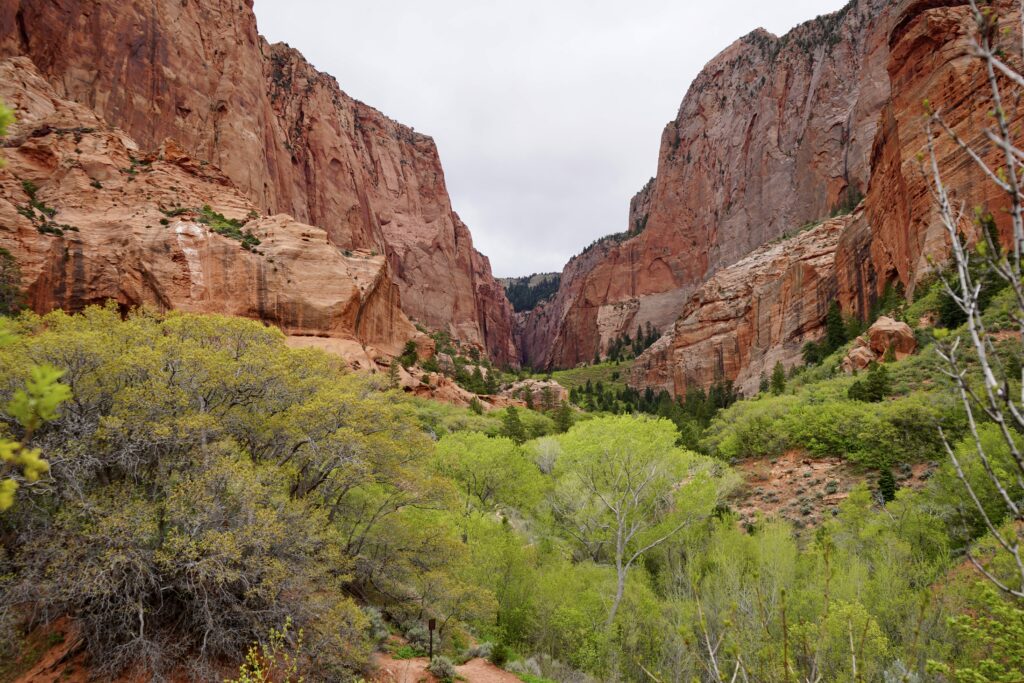
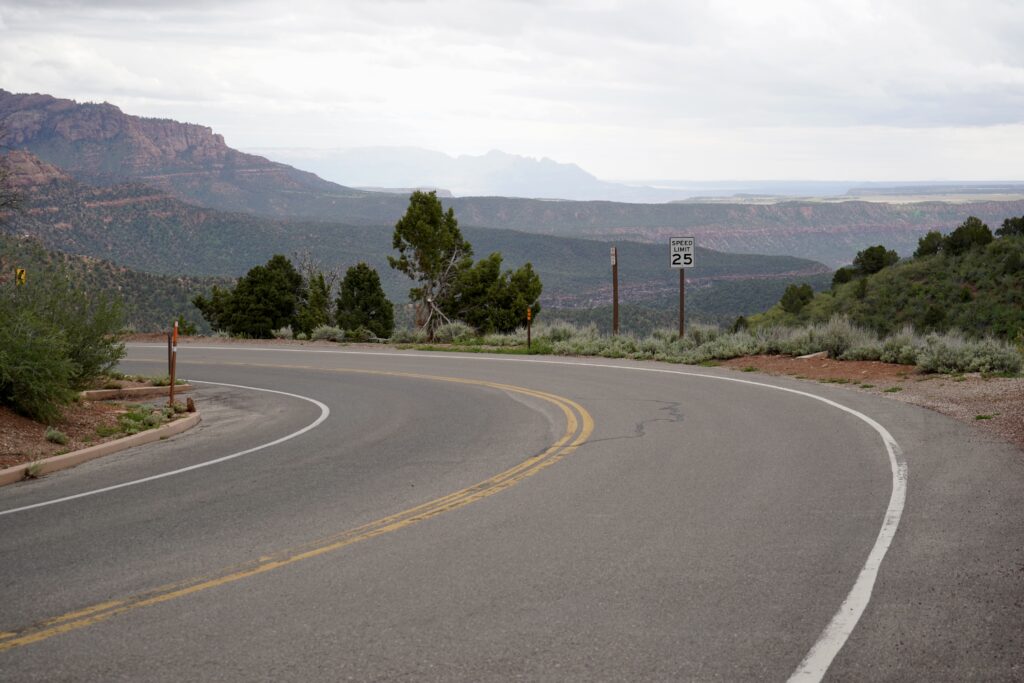
The mainstay of Kolob Canyons is a 5-mile scenic drive from the Visitor Center up to Kolob Viewpoint. The drive features stunning views of the vast canyons and towering red rock cliffs above.
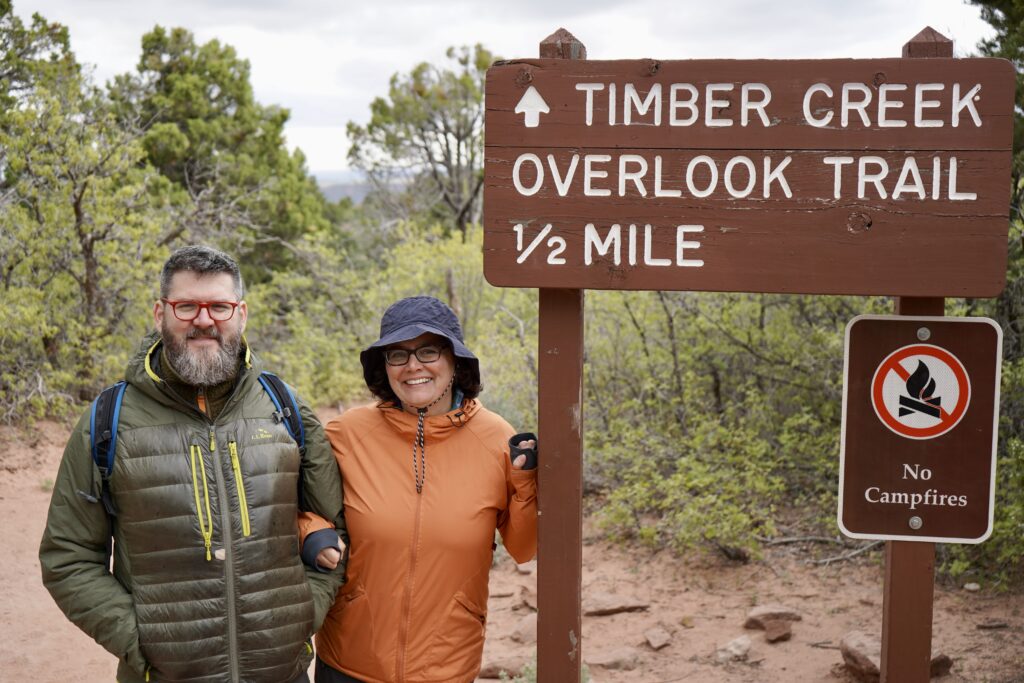
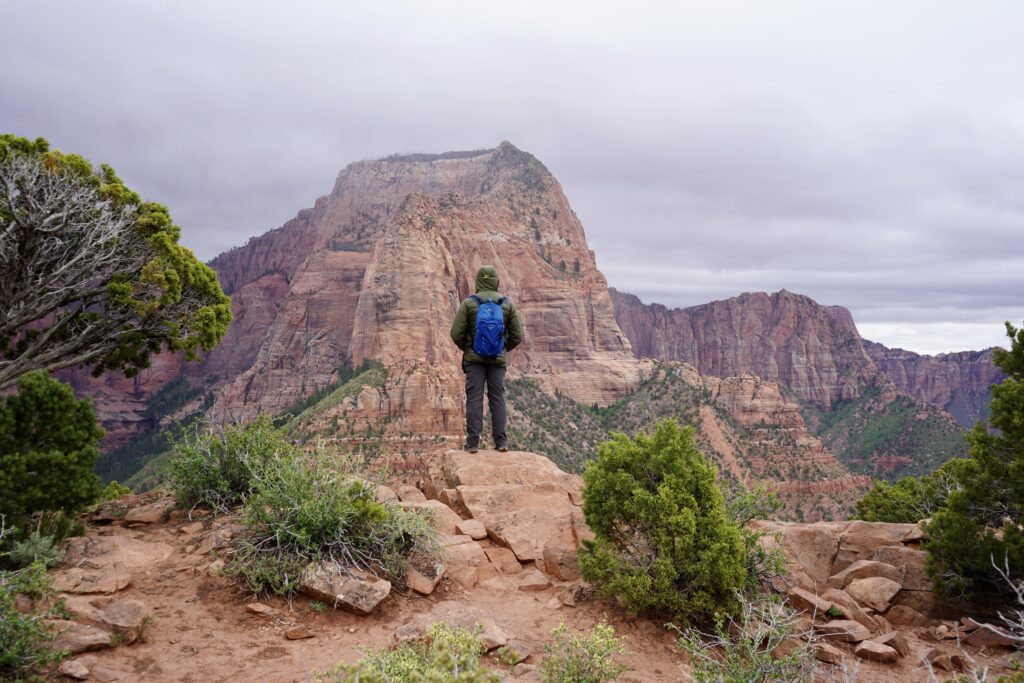
After arriving at the Kolob View Point parking lot, traverse the approximately 1-mile round trip Timber Creek Overlook Trail. This is the most popular trail in this section of the park for good reason. It is of moderate intensity but is short, well maintained and offers stunning views of the Zion wilderness. Looking for another hike? The Kolob Canyons Trail and Taylor Creek Trail are each approximately 5 miles roundtrip and are great choices to further explore this region of the park!
Drive back from Kolob Canyons to the south entrance of Zion National Park. Upon re-entering the park, make your way to the Zion Human History Museum. This small museum is free to parkgoers and worth a quick stop on your way into the park. Here, you will learn about the cultural history, geology and nature of Zion and get to view several artifacts and information placards about the park. The parking lot can be full at times however during your days visiting the park, it’s worth at least stopping when parking permits for a quick visit.
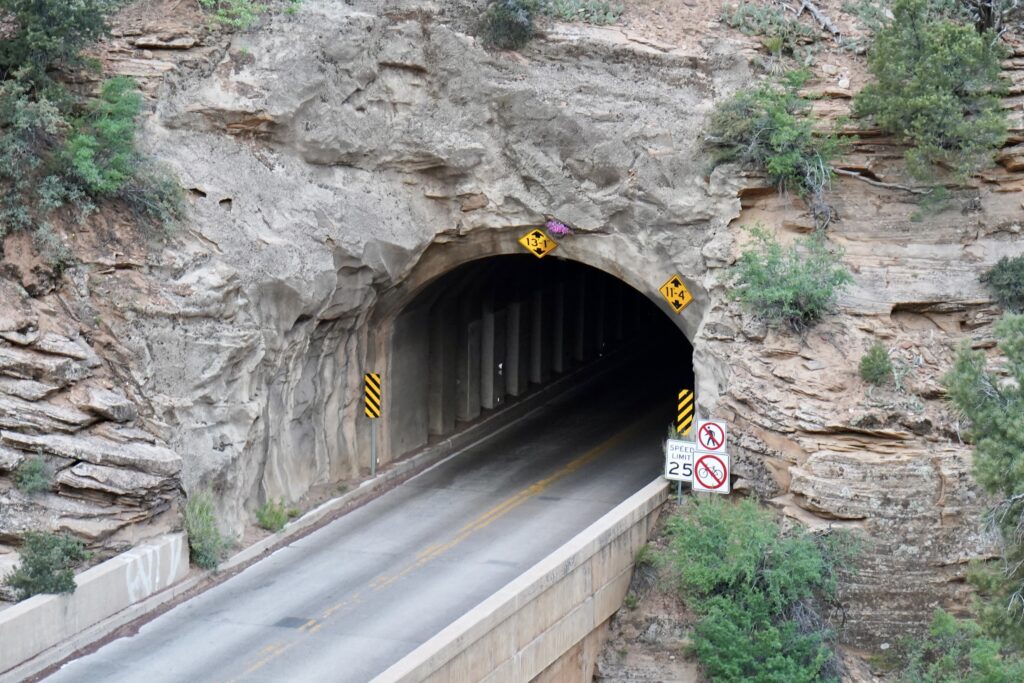
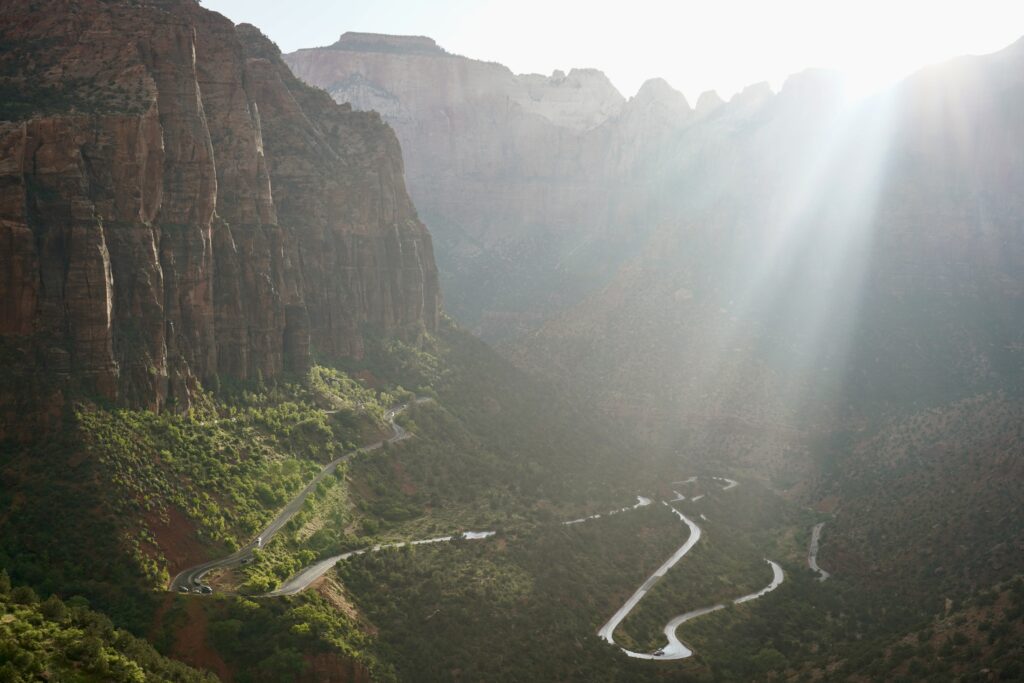
Leave the museum and make your way along Zion Park Blvd past some harrowing switchbacks up to the Zion-Mount Carmel Tunnel. The Zion-Mount Carmel Tunnel is an engineering marvel completed in the late 1920s. The tunnel is just over 1 mile long and was constructed to improve access to the park. At 13 feet wide by 13 tall, the tunnel can feel narrow at points, thus RVs, buses, and other large vehicles require a permit for entrance, and can only go through the tunnel during certain monitored times during the day. For information on Zion-Mount Carmel Tunnel permits for large vehicles, click HERE.
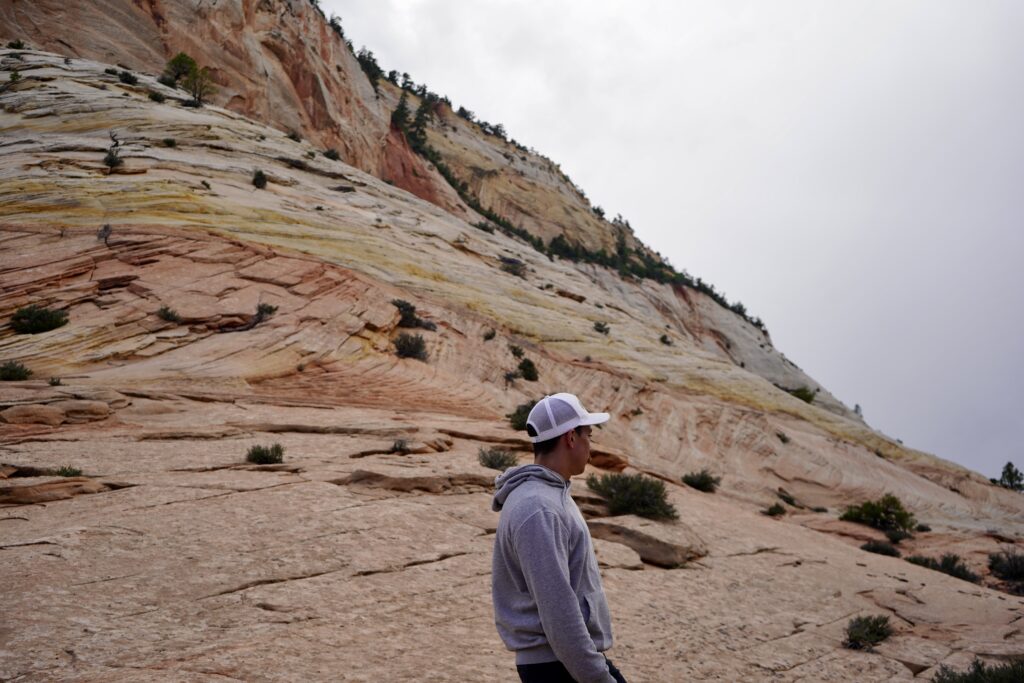
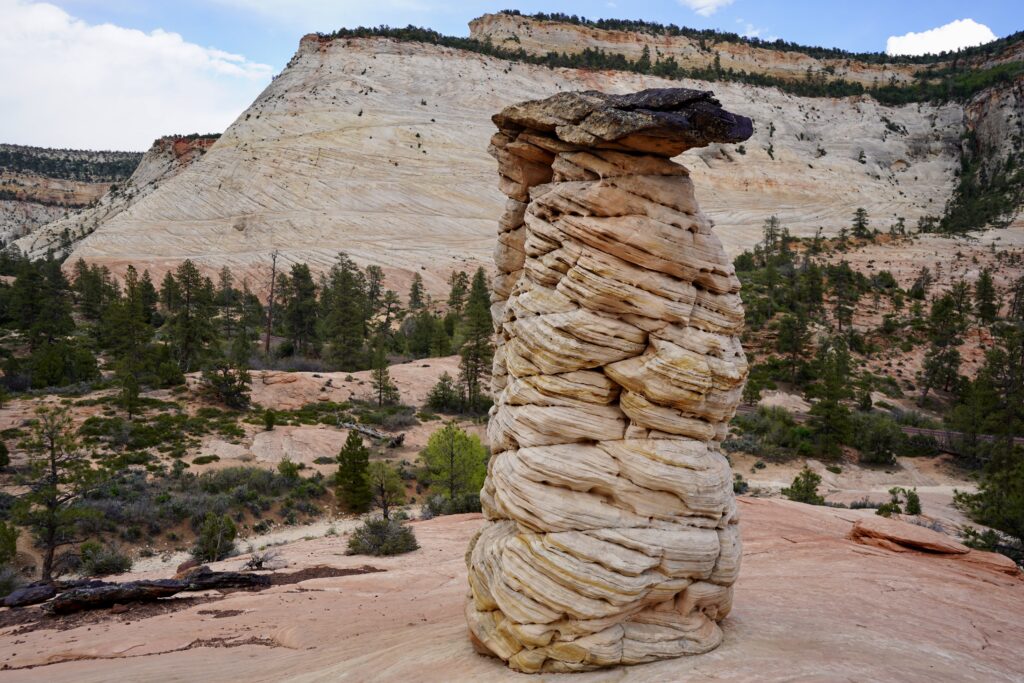
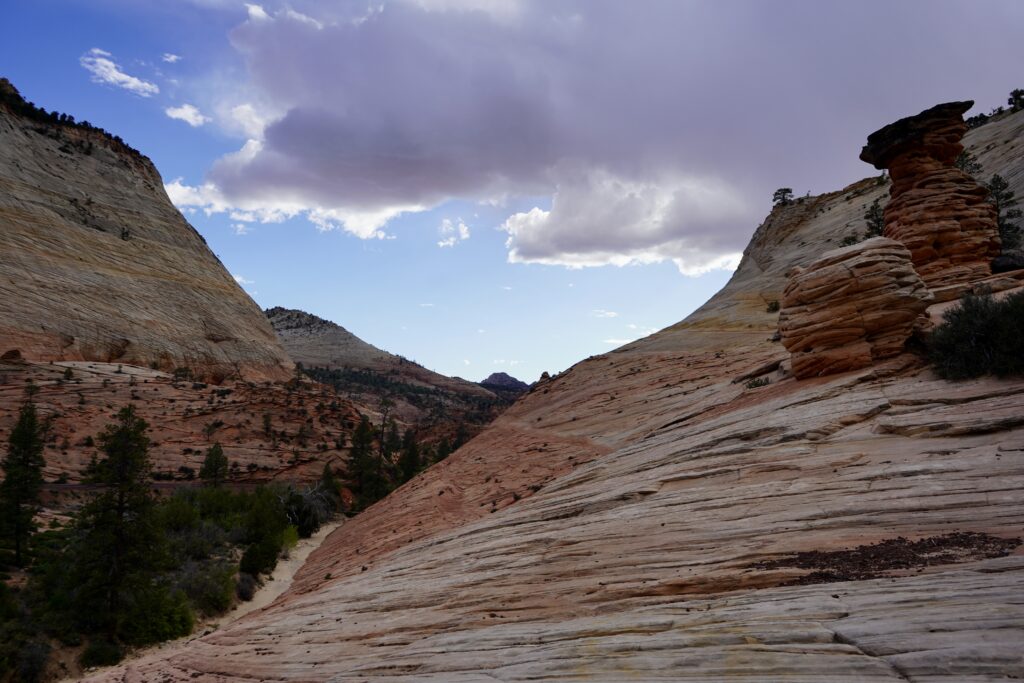
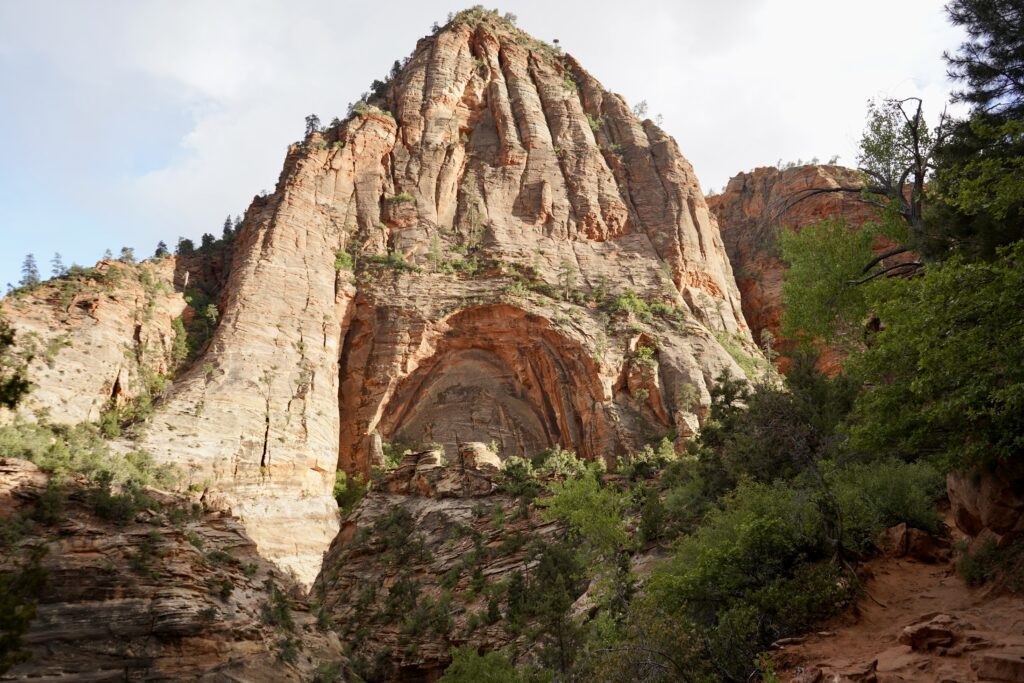
After exiting the tunnel you will find yourself in the eastern-most portion of the park. Similar to Kolob Canyons, this section of the park is far less crowded than the Zion Canyon section. We recommend driving throughout this section to the eastern entrance and back. Feel free to stop at any pull-off or turnaround that peaks your interest: just be safe along the roadside when doing so. We recommend stopping at the Checkerboard View Mesa Area and running along some slick rock to these cool rock stacks (pictured below) in particular. This section of the park is also great for wildlife viewing, so particularly around dawn and dusk, keep your eyes peeled.
End your first day of adventure with a sunset hike on the Zion Canyon Overlook Trail. This roughly 1 mile roundtrip trail is relatively easy and is a popular spot for sunset. If you can not find parking at the designated parking lot, you will likely find something available along the road nearby. From this high vantage point, visitors will be treated to fantastic views of Zion Canyon and the surrounding rock formations.
Ultimate 3 Day Zion National Park Itinerary
Day 2: (Ebikes and Angel's Landing)
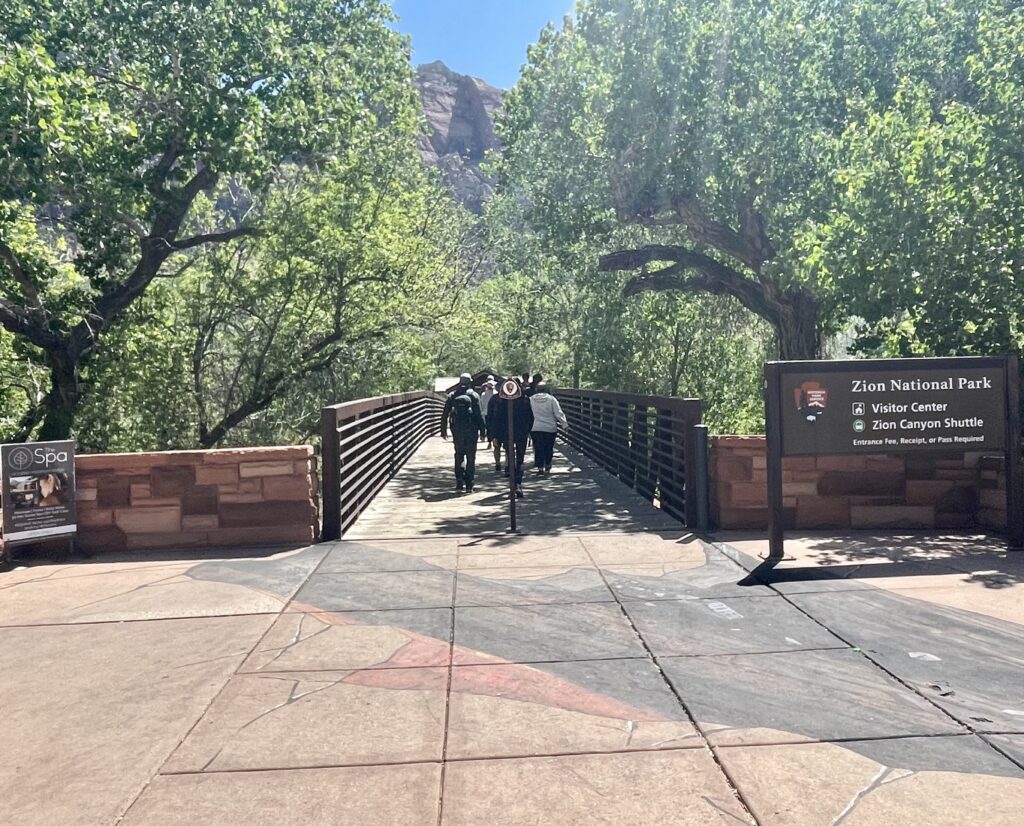
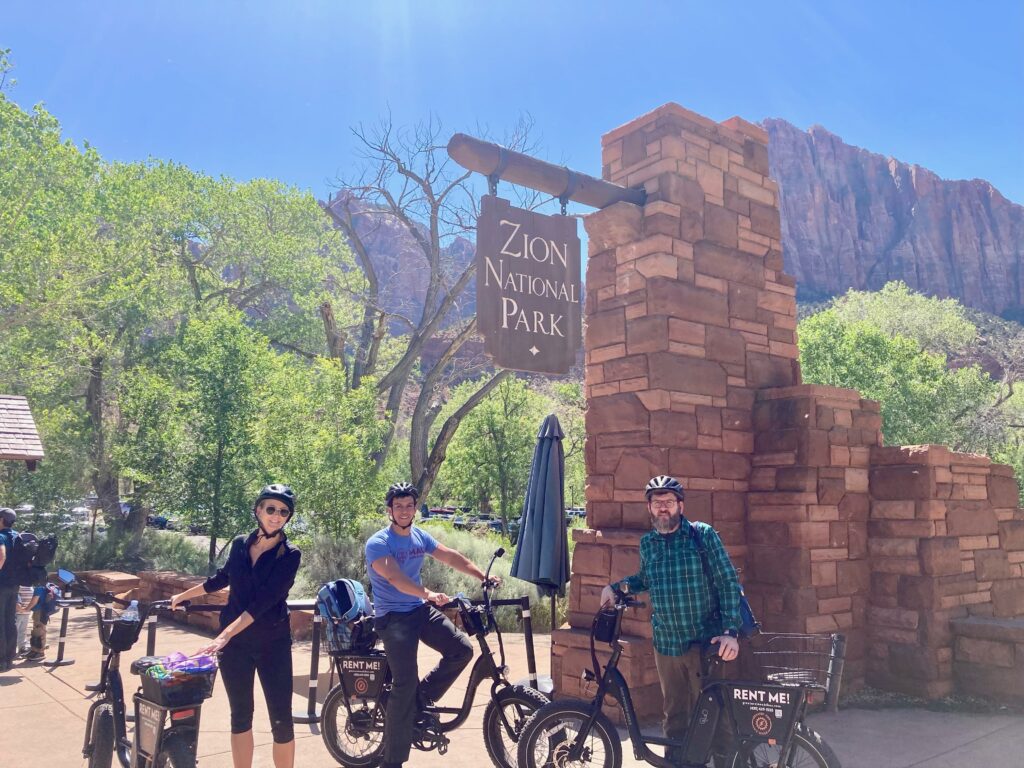
Start day 2 with some coffee and delicious crepes at MeMe’s Cafe. Well-nourished and caffeinated, now make your way over to Greater Zion Ebikes to get your electric bike rentals. Note that with bikes, you are going to be biking down towards the south entrance but will be walking your bike through the pedestrian entrance. From here take the Pa’rus Trail to connect with the most popular part of the park, Zion Canyon Scenic Drive.
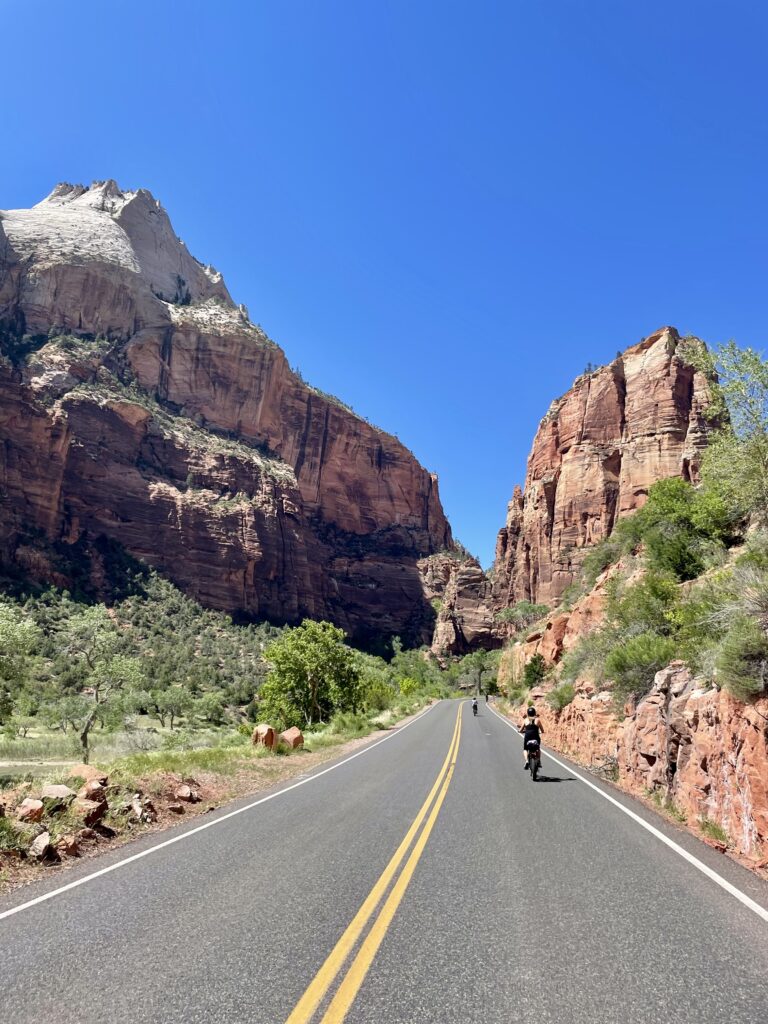
The main artery of Zion National Park is along Zion Canyon Scenic Drive. This approximately 13-mile roundtrip paved road cuts through the center of the canyon and provides access to the most popular spots of the park. During the more popular months of March-November, access to the scenic drive is strictly by shuttle, foot, or bike. There are no private vehicles on this road during peak season. With this in mind we found electric bikes to be the best way to experience this portion of the park. You can also rent normal bikes, but with lots of hiking already planned, we found ebikes to be not only much faster but more enjoyable as well. With only biking, walkers, and shuttle buses on the road, the ride is quite safe, easy, and enjoyable. To further add to the safety of the experience, the shuttle buses will not pass any bikers until they are stopped and pulled over to the side of the road.
As you’re zooming up the road on your ebike with endless beautiful scenery around you, the urge to cruise up and down the road for hours will be quite strong. However, we encourage you to take advantage of the less crowded morning and make your first stop at shuttle stop #6 “The Grotto.” From here, you will make your ascent of the famed Angel’s Landing.
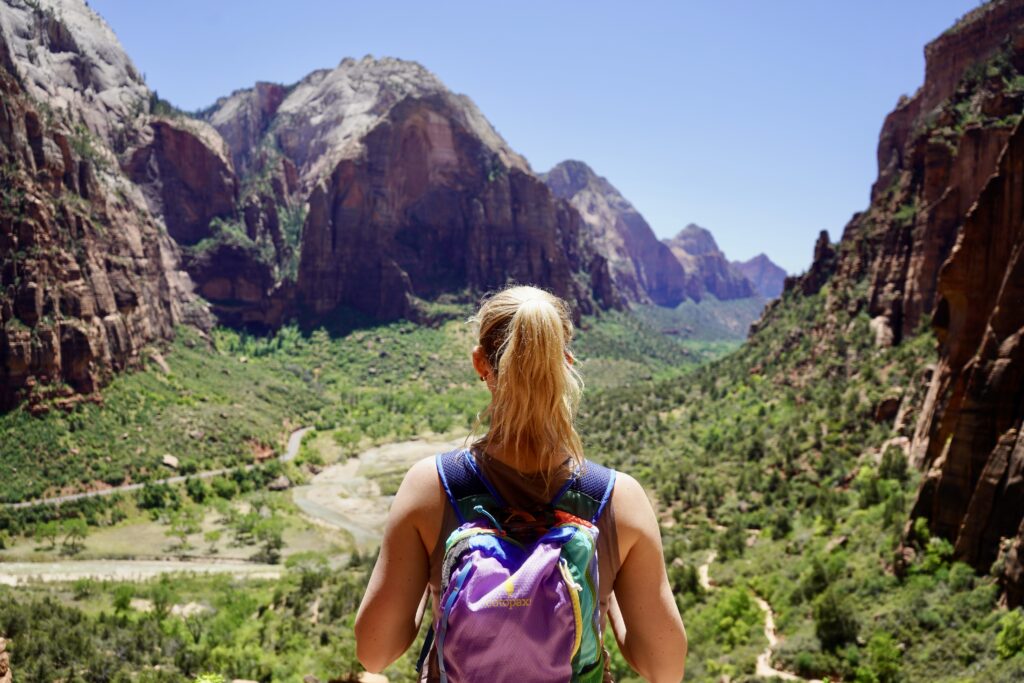
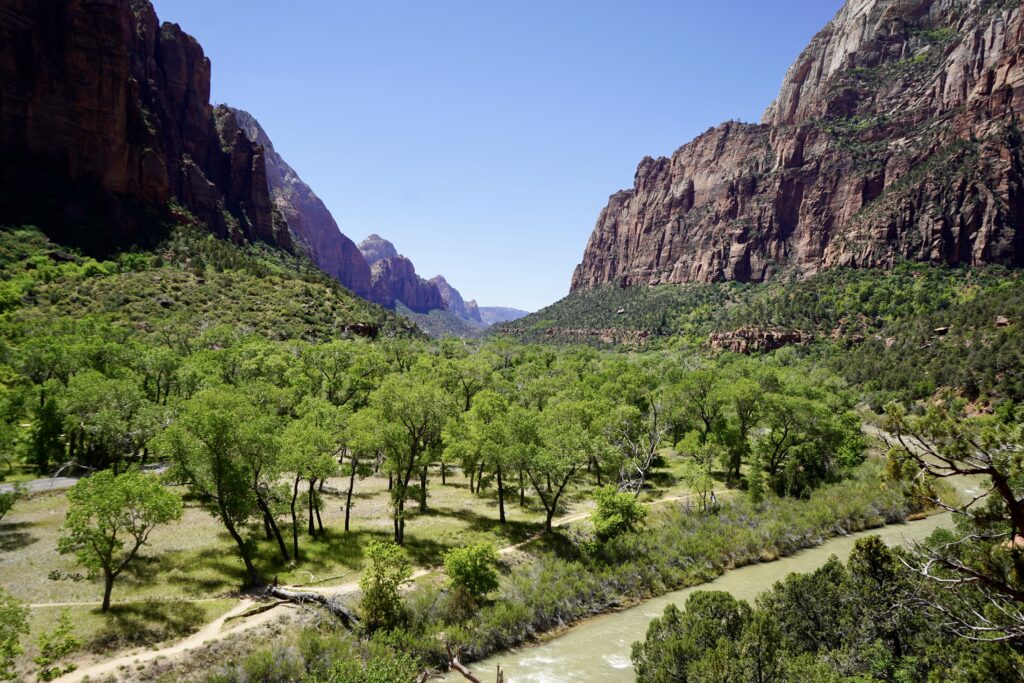
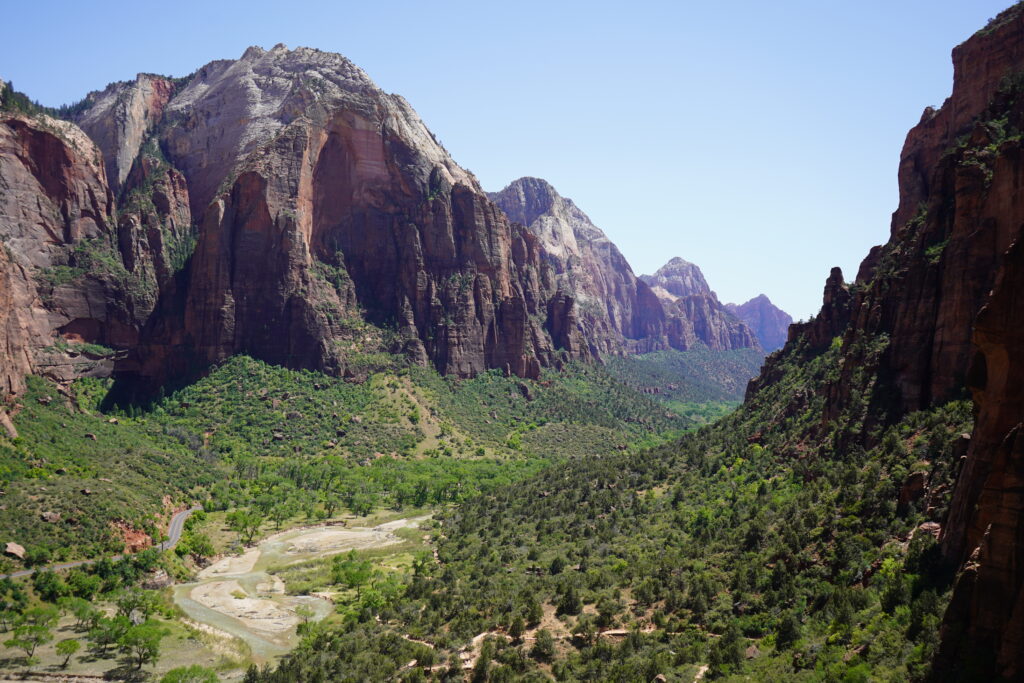
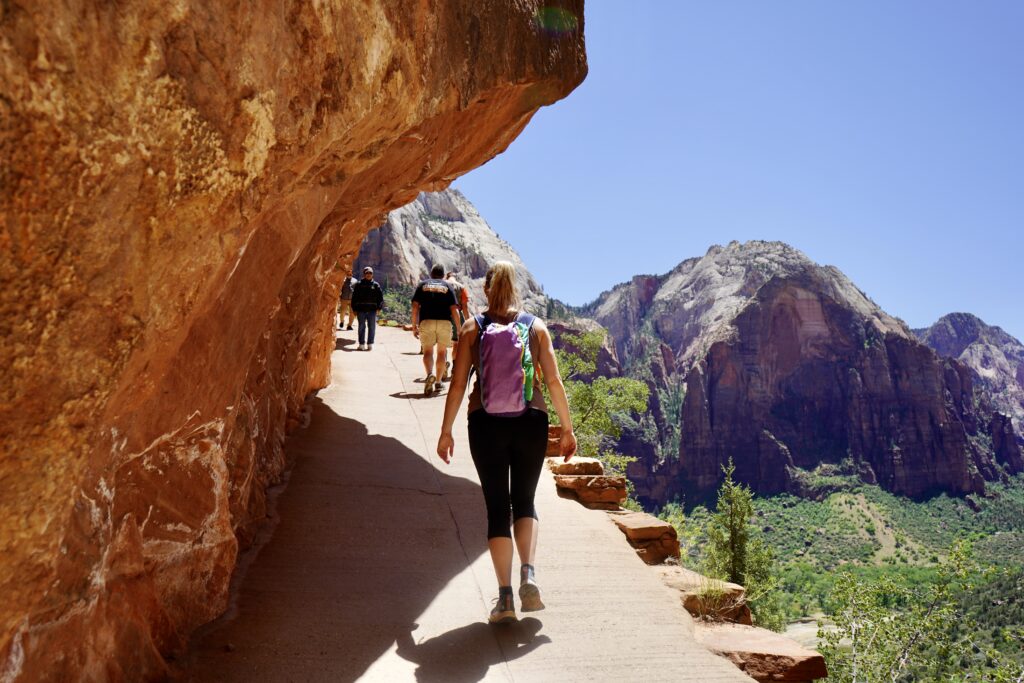
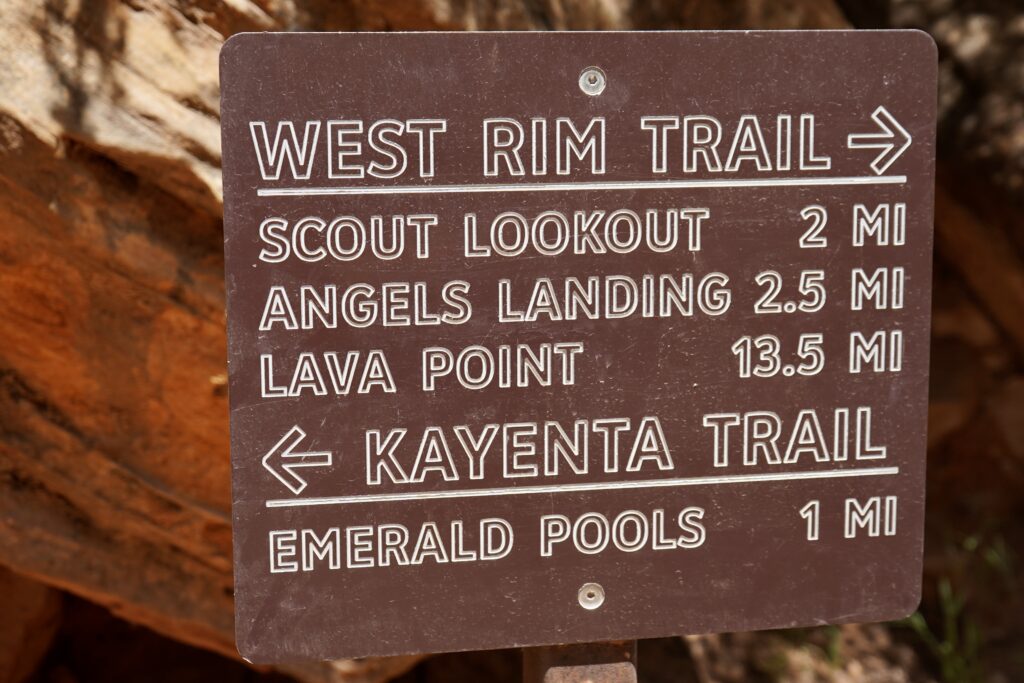
Angel’s Landing is a quintessential hike of Zion. Hiking this trail involves a strenuous 2.5 mile (5 miles roundtrip) ascent with 1,488 ft of gain. Many hikers choose to ascend up until the Scout’s Lookout. This point provides fantastic views of the canyon and Virgin River valley below, and is a great turnaround spot for most.
The more adventurous among you can choose to do the final approximately 0.5-mile ascent to Angel’s Landing itself. This final half mile is narrow with 1000 ft drop-offs on each side. A chain handrail is fastened into the rockface for additional support, but even still, the route is dangerous and several deaths have occurred. During our most recent trip, a middle-aged gentleman suffered a cardiac arrest during “the chains” portion of the trail resulting in the early closure of the route. To cut down of large surges in traffic and help with safety, a permit is now required in order to do the final portion of this trail from Scout’s Lookout to Angel’s Landing. Permit information can be found HERE. You do NOT need a permit if you plan on turning around at Scout’s Lookout.
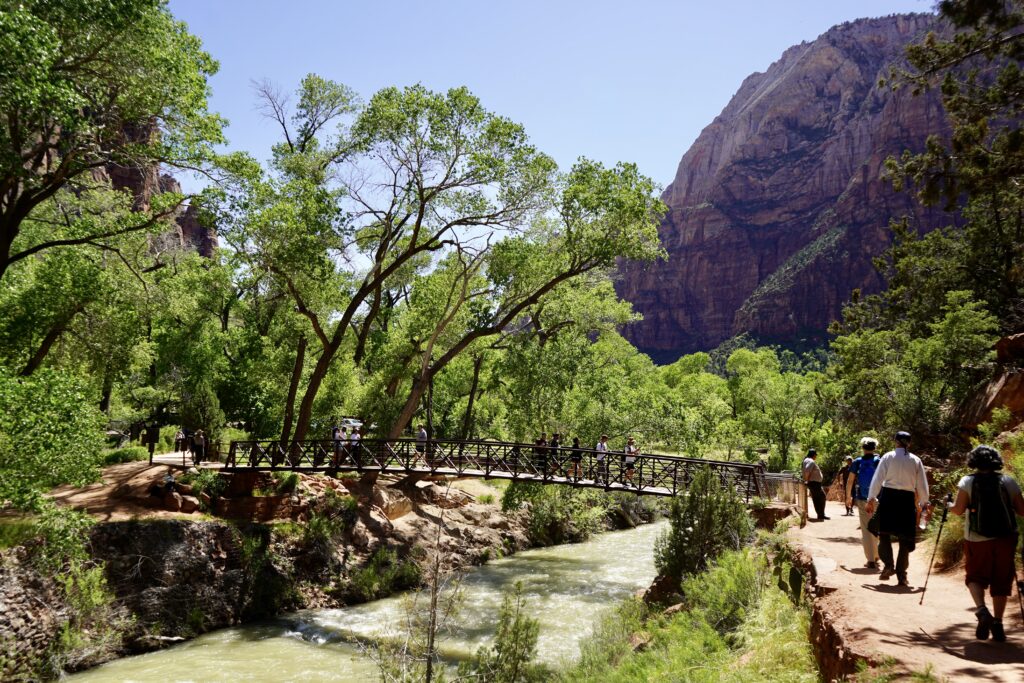
After Angel’s Landing head back to the Grotto shuttle stop to use the bathroom, refill your water and have a quick snack before heading out for another hike (You may even see some overly friendly wild turkeys as well lol). When starting the hike to Angel’s Landing you will cross the Virgin River via a footbridge and be presented with a fork in the road. The rightward fork leads to Angel’s Landing. The leftward fork, known as the Kayenta Trail, leads over to the Emerald Pools. We would recommend hiking to the Emerald Pools via the Kayenta trail (rather than the Emerald Pools trail itself) because we read it is more scenic and less traversed.
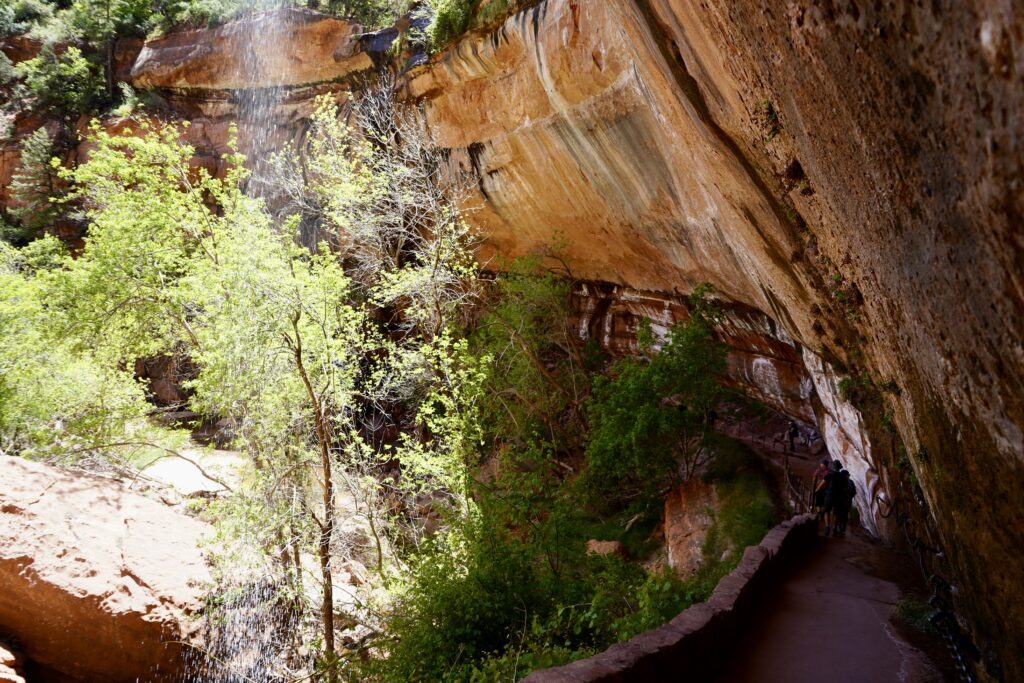
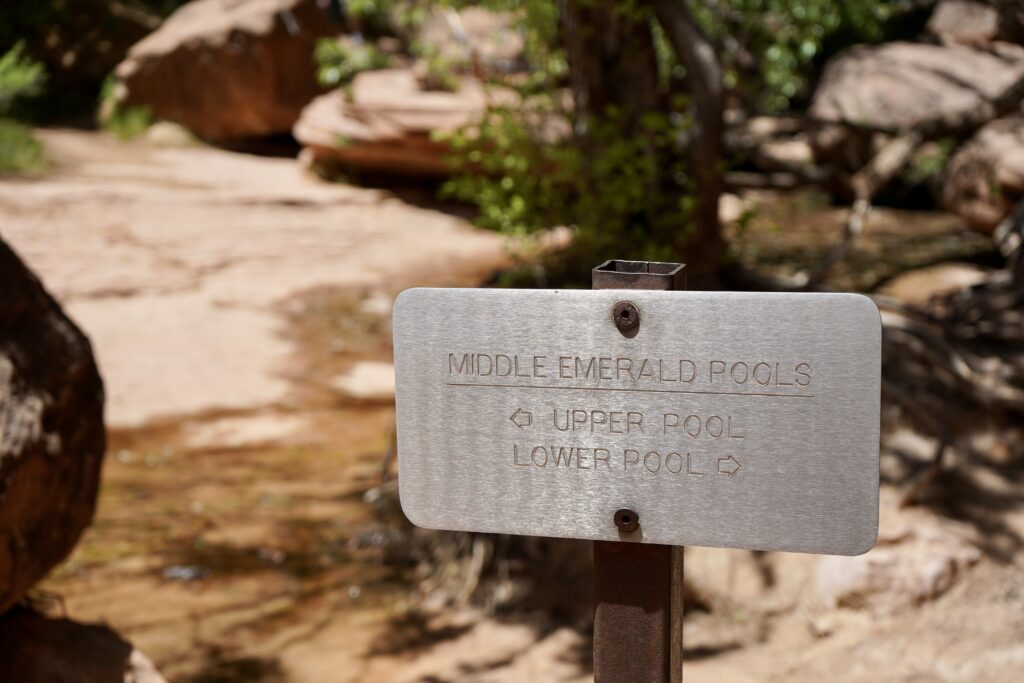
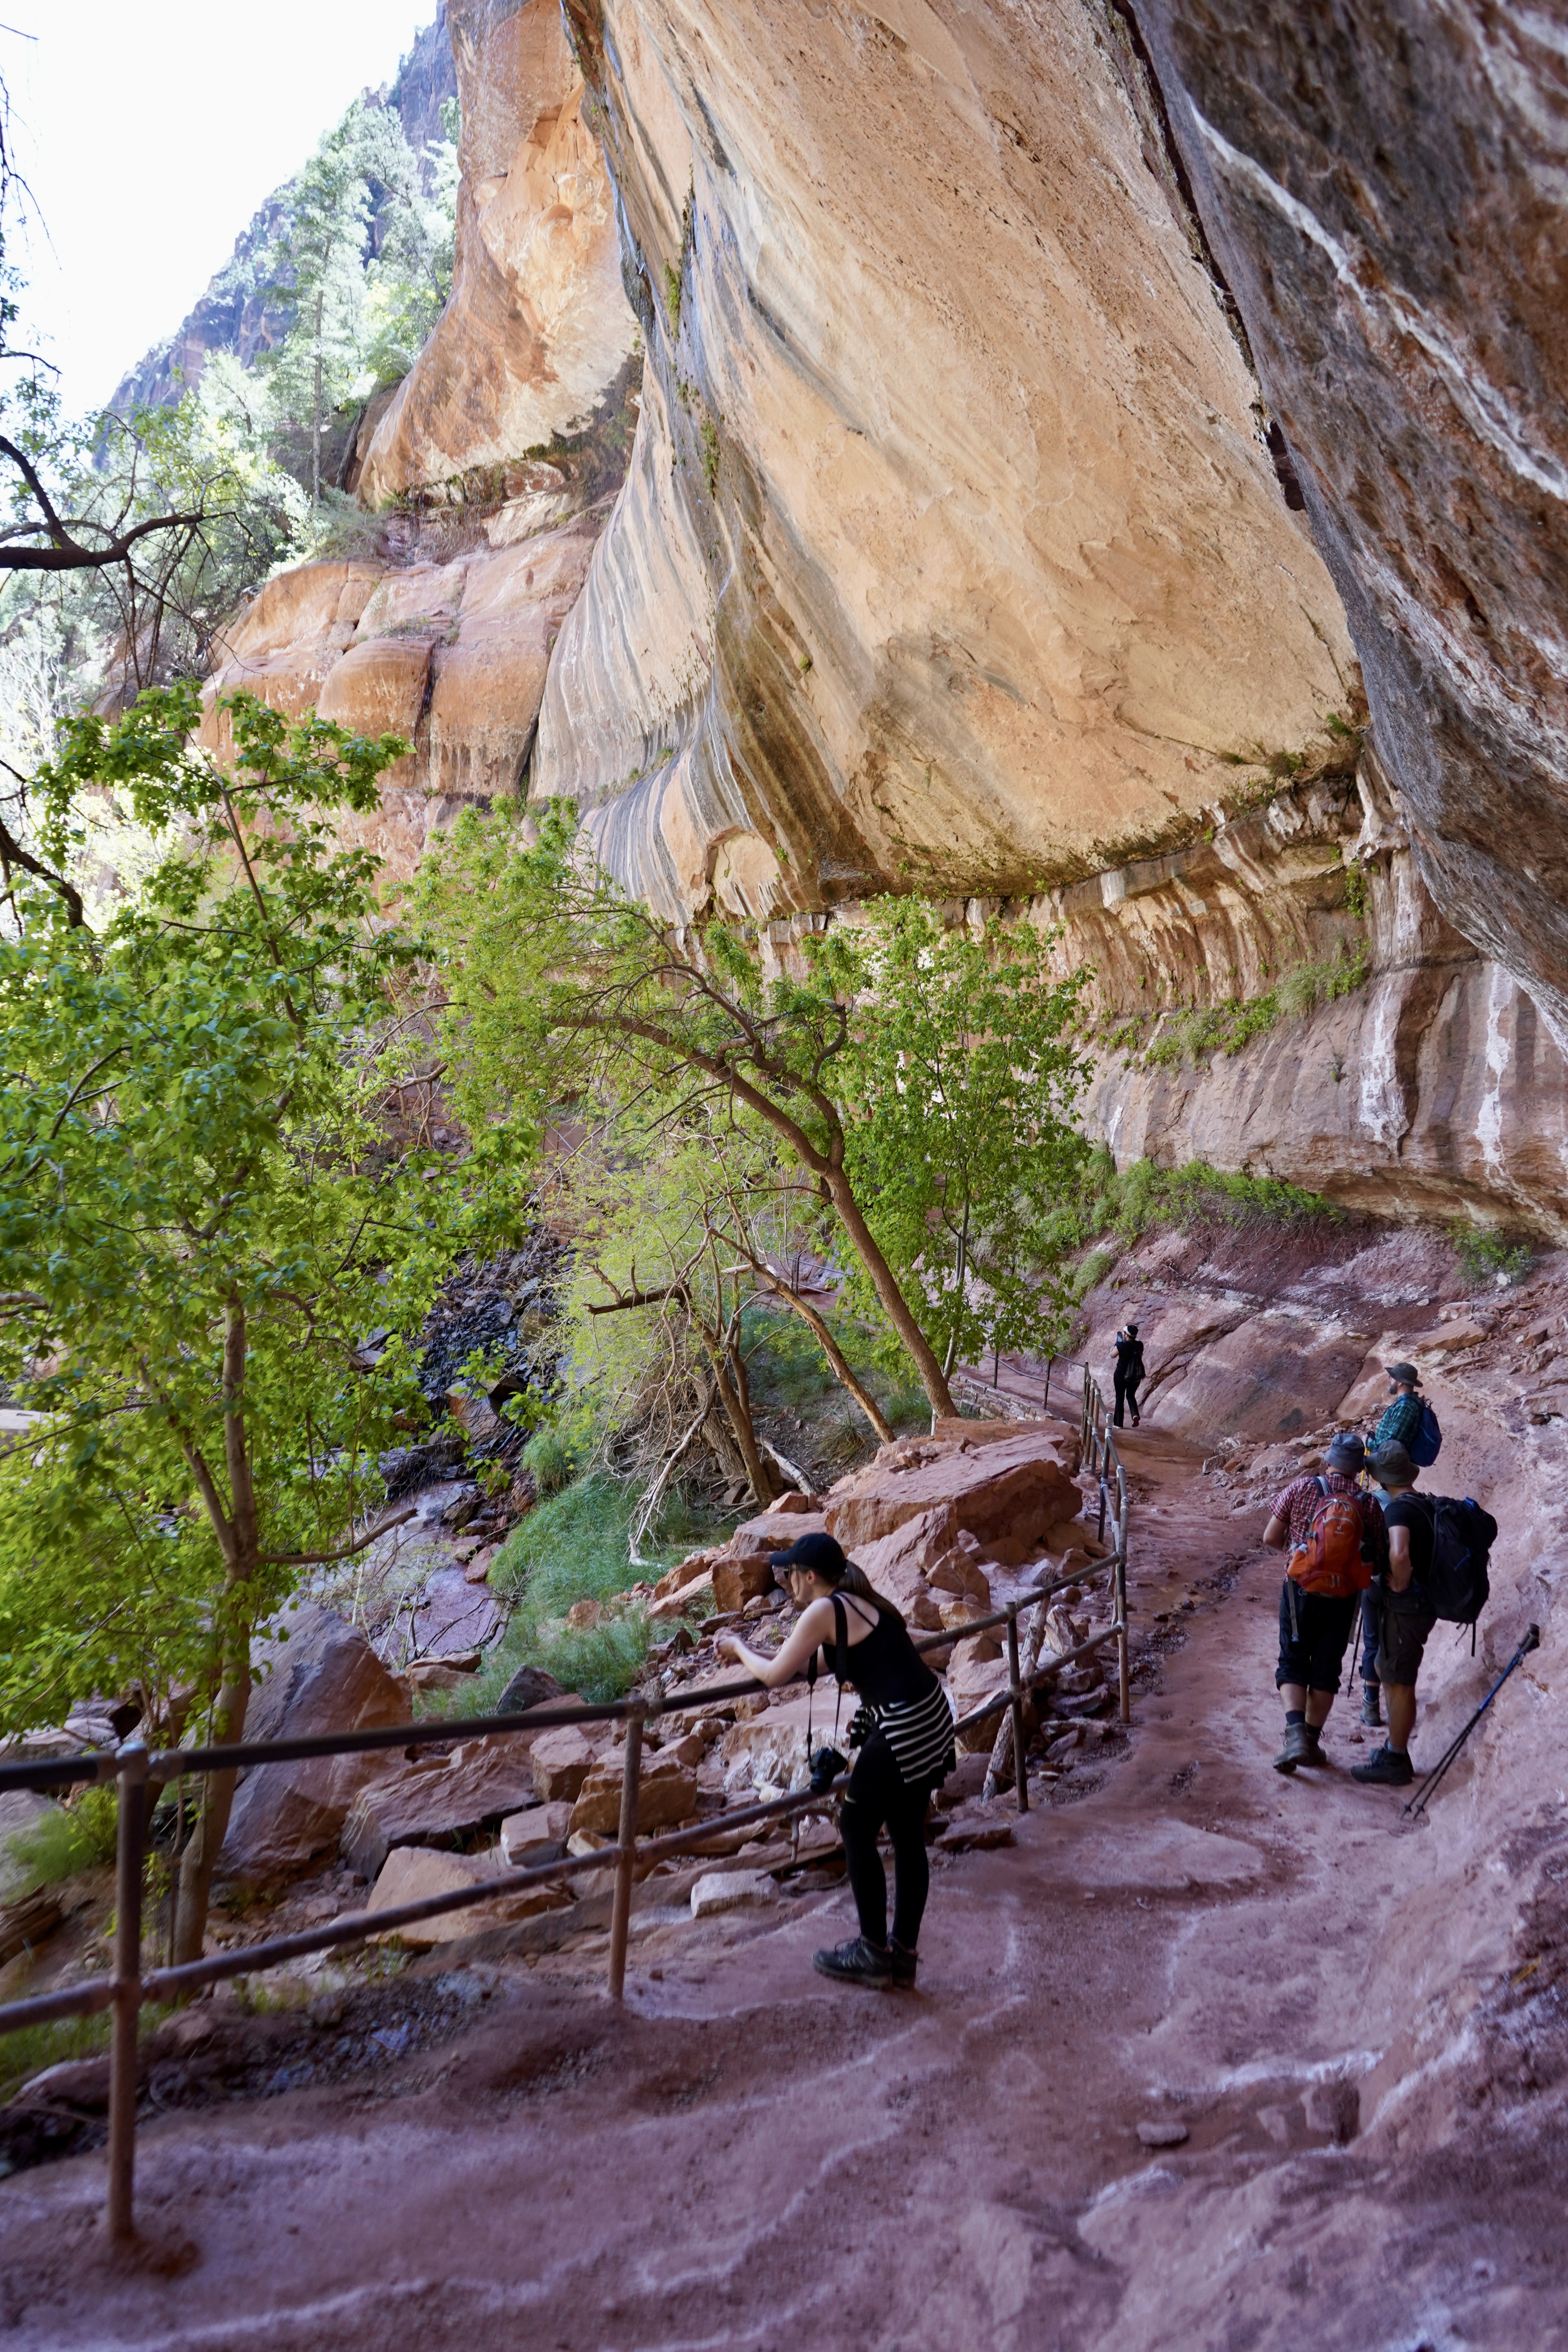
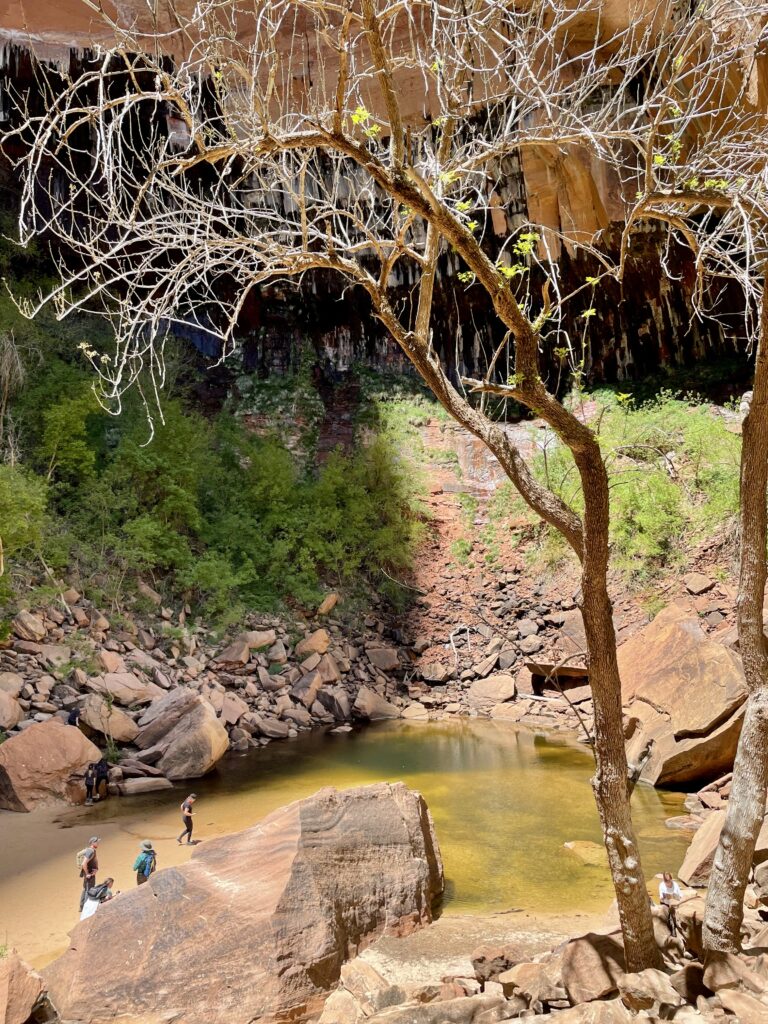
The trail is approximately 2.3 miles roundtrip with just over 300 ft of elevation gain. The trail consists of three stops: the lower, middle, and upper pools. The trail is well marked and the hike is easy to moderate. Make sure you continue to the end of the trail at the upper pool; this is the most impressive of the three and makes for a nice place to enjoy the scenery and relax for a bit.
After completing the Emerald Pools hike via Kayenta trail, head back to your bikes and get to the Zion Lodge for a quick rest and recharge. Zion Lodge has various overnight accommodations as well as a gift shop, seasonal cafe, and restaurant. The cafe offers outdoor seating and is a perfect spot to rest your legs, rehydrate, and enjoy a late lunch before continuing on with the day.
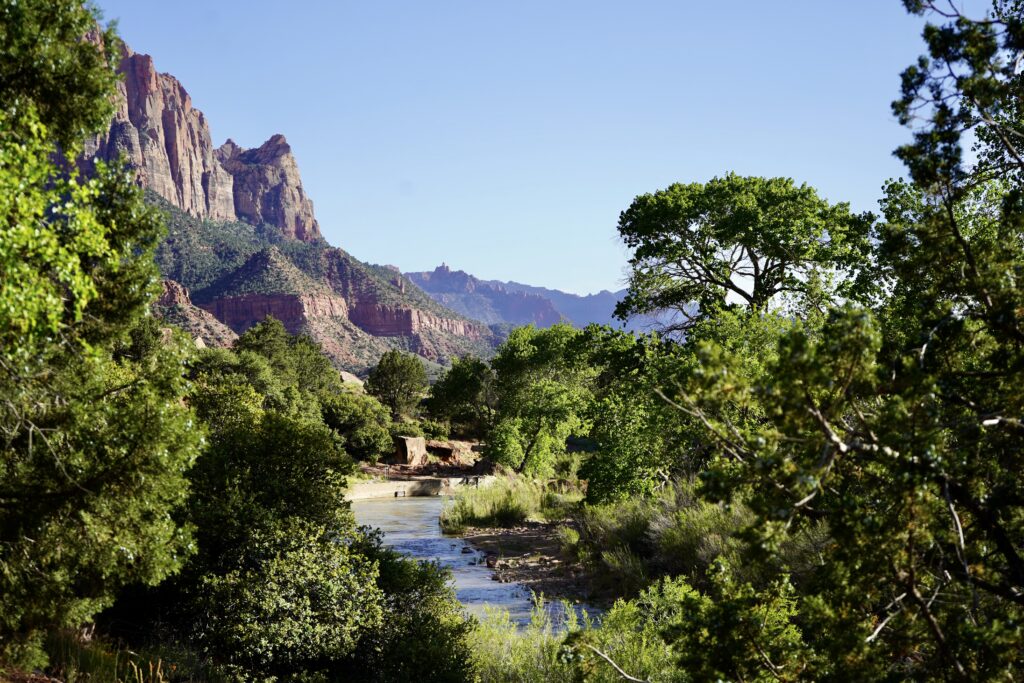
After a decent morning of hiking, you will be thankful you opted for ebikes. Consider riding next to the Temple of Sinawava shuttle stop. This marks the final stop of the scenic drive. At this point, if you have opted for the 8-hour ebike rental (highly recommended), you will likely be approaching the end of your rental time. Spend your final time riding up and down the scenic drive. This time is perfect for quick roadside stops and pictures. The light changes everything in the canyon and viewpoints look very different at various times of the day. Favorite stops of ours included the Court of the Patriarchs Viewpoint, wandering down to the Virgin River at Big Bend Viewpoint, and riding along the Pa’rus Trail.
The Pa’rus Trail in particular is worth noting. It is the only trail in this section where bikes are allowed. The trail begins just past the main Visitor Center and conveniently bypasses the initial segment of the park where private vehicle traffic is permitted. The Pa’rus Trail then connects with the private vehicle-free Zion Canyon Scenic Drive at the Canyon Junction Bridge.
After a full day of adventure, turn in your ebike rentals and head out to dinner at Wild Thyme Cafe at Trees Ranch. This was our favorite meal in Springdale. The menu is seasonally changing and focuses on fresh locally sourced ingredients. The elk burger and bison tenderloin were particularly delicious. After such a long day, feel free to call it a night at this point. Additionally, if the weather cooperates, consider heading back into the park for some of the best night sky viewing around. As an International Dark Sky Park, nightsky viewing is taken quite seriously in Zion. Consider bringing warm clothing, binoculars or a telescope (if feasible however not necessary), and a red light (better for night sky viewing than white light) to best enjoy the event.
Ultimate 3 Day Zion National Park Itinerary
Day 3: (The Narrows and Wrapping Up)
Start your final day in the park early with an order ahead coffee and breakfast from Deep Creek Coffee. Drive through the south park entrance and park at the Visitor Center. Then, hop on the Zion Canyon Shuttle and take it all the way to the Temple of Sinawava stop. From here, walk the approximately 1 mile along the Riverside Walk and you will come to the start of one of the most famous hikes in the country, the Narrows. For optimal lighting, less crowds, and less chance of getting caught in the all too common afternoon thunderstorm, plan on starting the hike around 9AM.
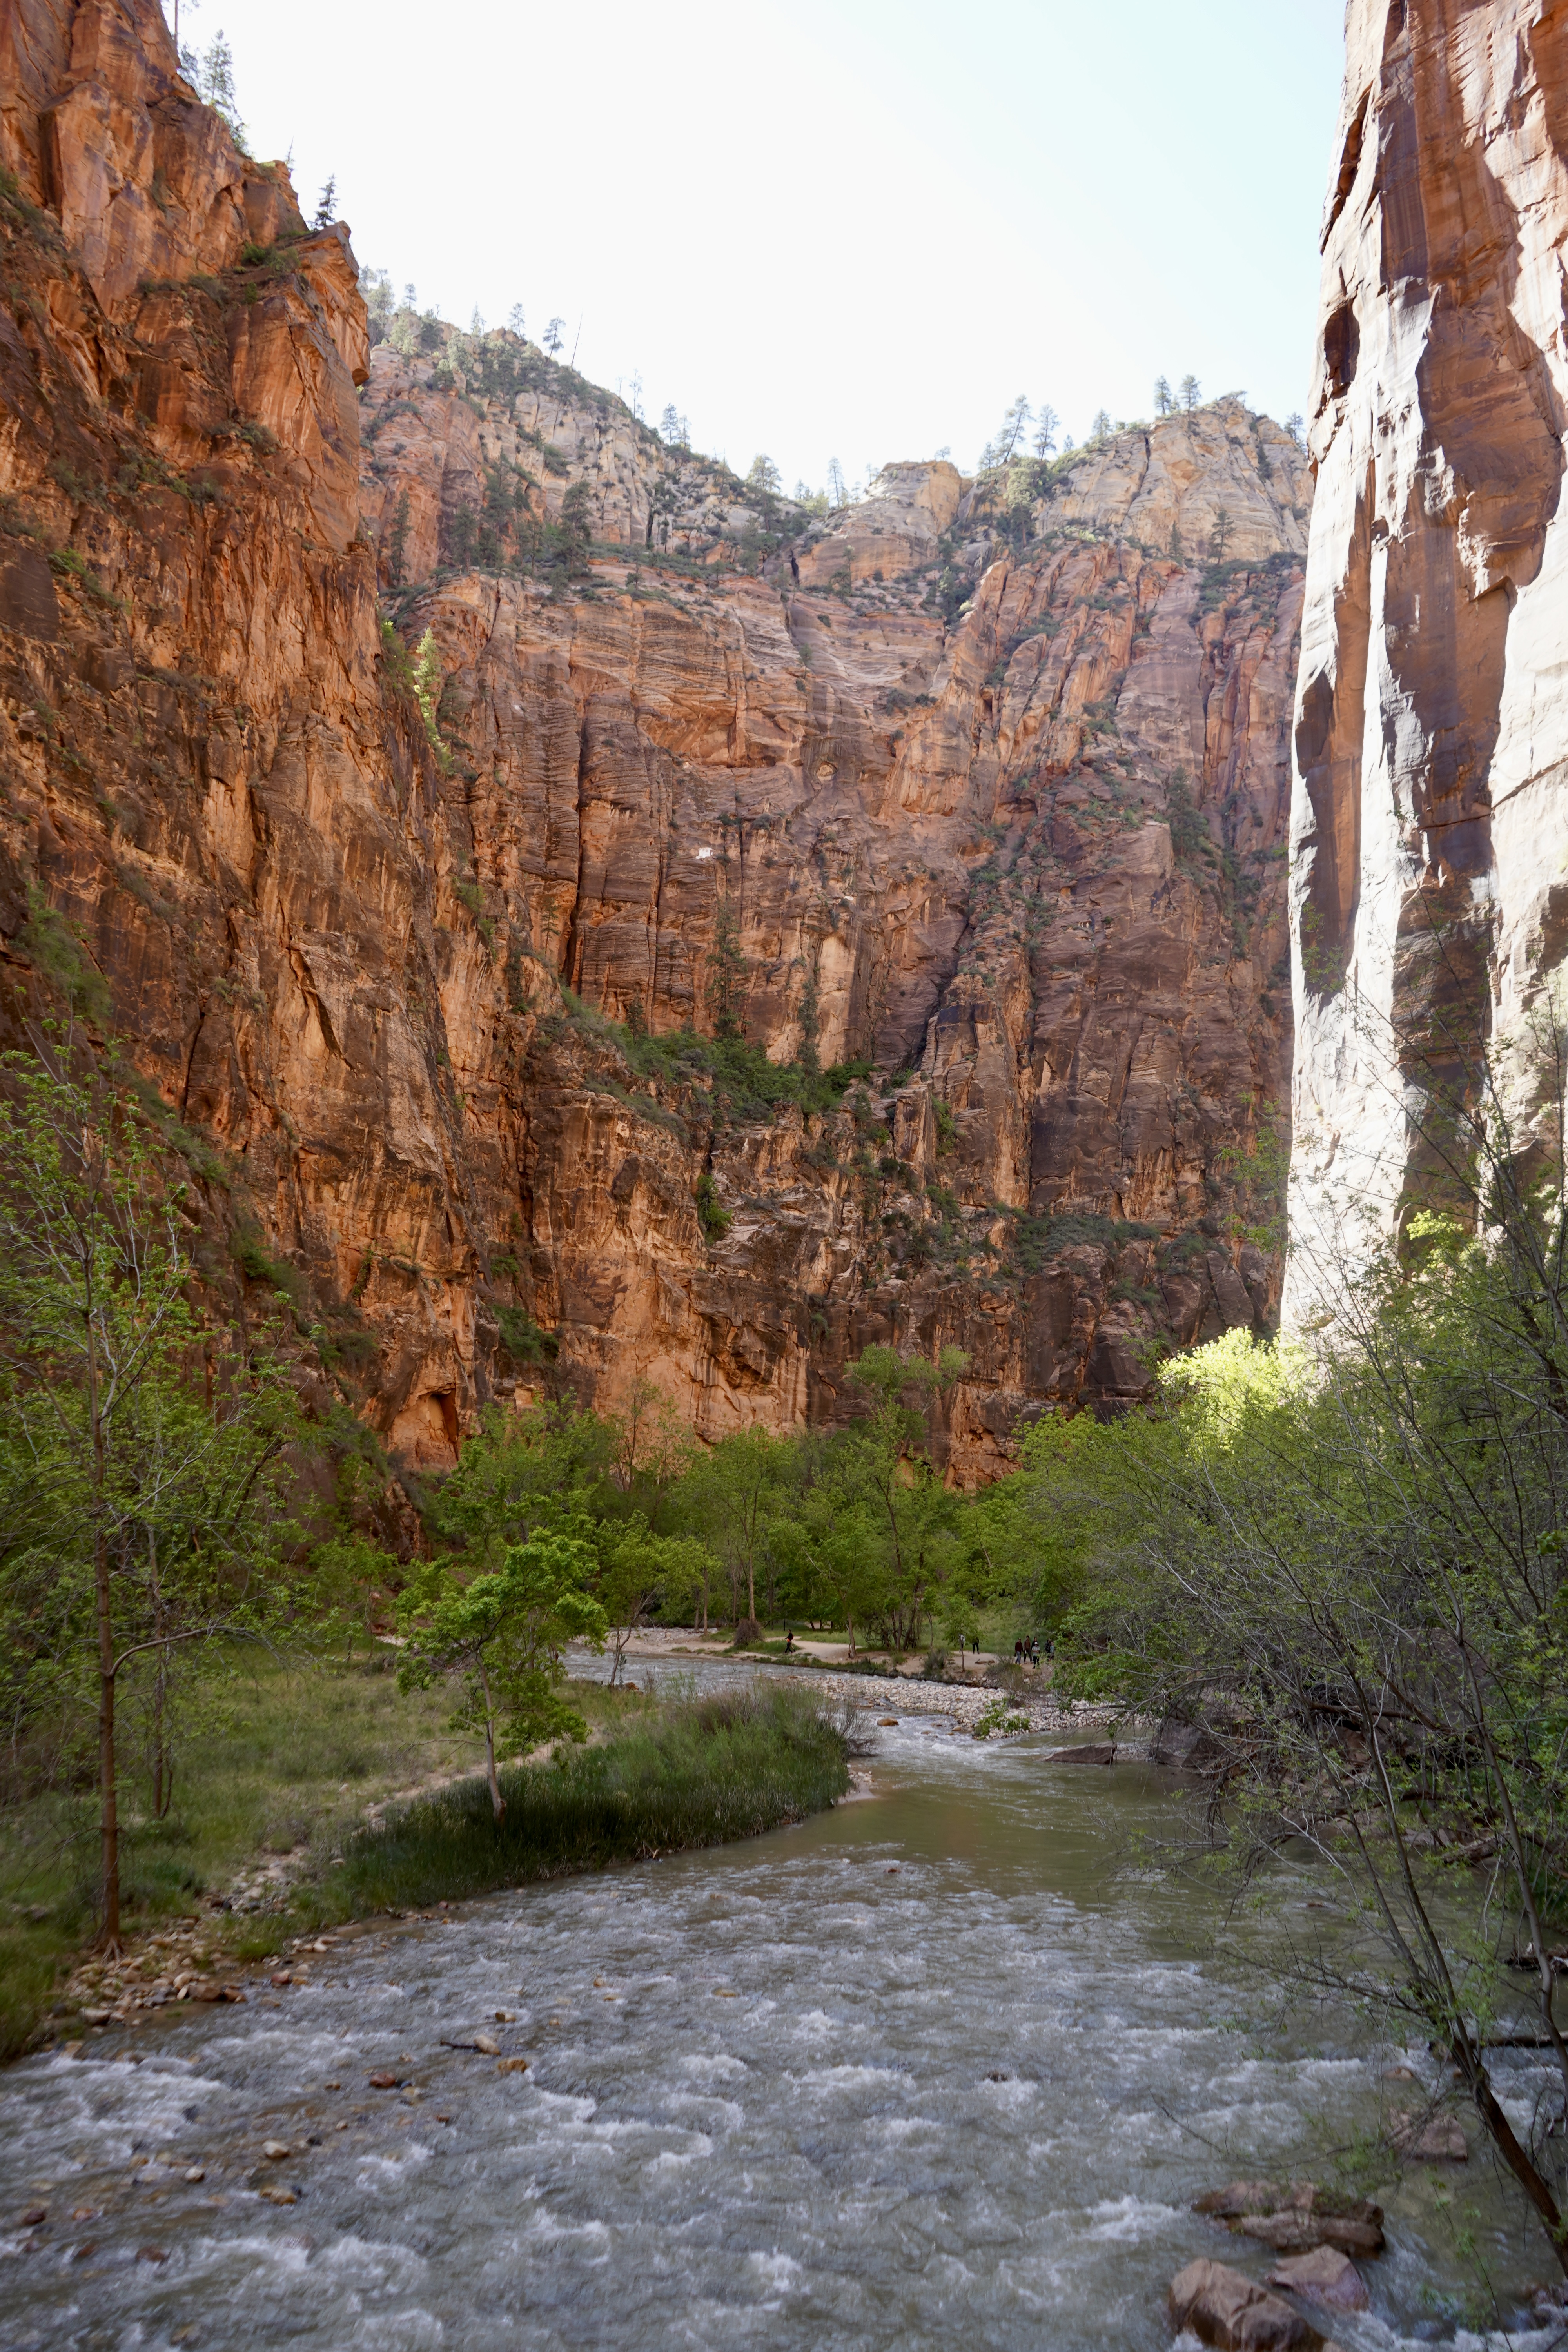
The Narrows is a world renowned hike that follows the Virgin River, as it meanders past through a magnificent slot canyon flanked by towering sandstones walls up to 1000 feet high! Unlike most hikes, the Narrows is characterized by wading or even at times swimming through parts of the river. With this in mind, staying informed about regional weather patterns is essential if planning to do this hike.
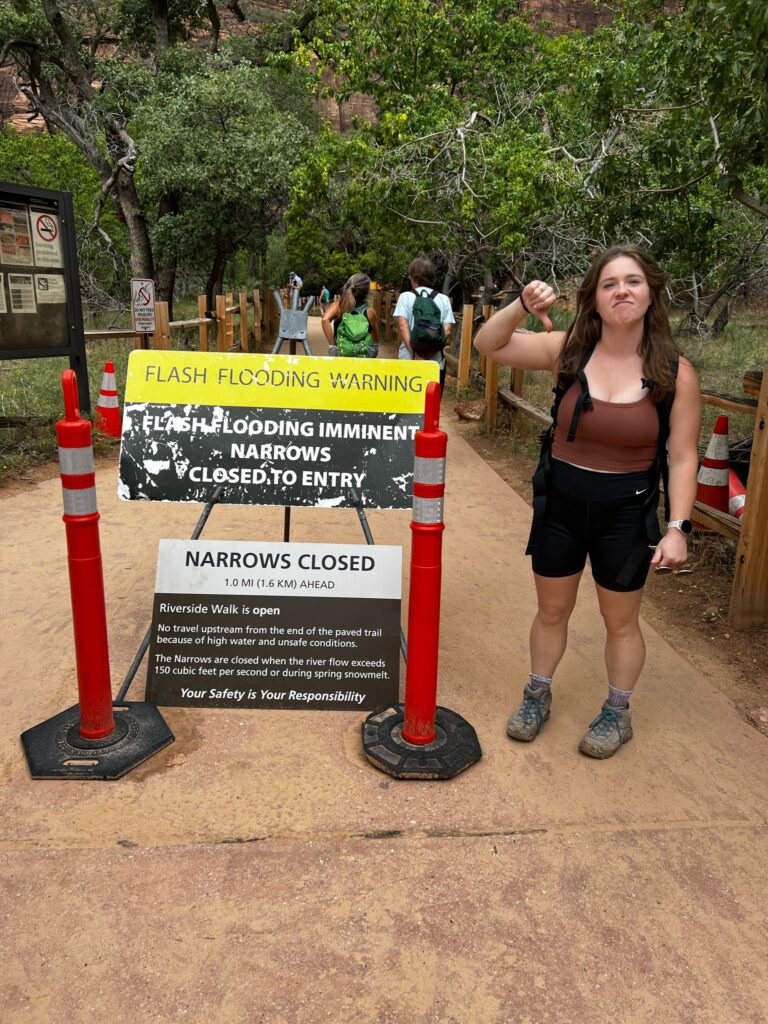
The Narrows is most accessible during the summer and early fall (June-October) due to warmer temperatures and lower water levels. We were unfortunately unable to complete the hike during our most recent trip in May due to high water levels. Several friends visiting during other times in the year have similarly been unable to complete the hike. Make sure to regularly check the trail conditions and water level/temp if planning to do this hike. Importantly note that flash floods also do happen in the narrows, can be life threatening, and occur even with distant rainfall not directly overlying the trail.
As far as other logistics go, the Narrows can be hiked in two ways: top down from Chamberlain Ranch and bottom up from the Temple of Sinawava. The far more popular route is the bottom up approach from the Temple of Sinawava and this is what we recommend for first time visitors. This route is up to 9.4 miles roundtrip, however you can really choose to turn around whenever you see fit. Hiking the whole 9.4 miles takes approximately 8 hours with approximately 335 feet of gain. The top down approach from Chamberlain Ranch is 16 miles one way and requires use of a wilderness permit. Some choose to complete the top down approach in one day and others opt for making it a two day backpacking trip with an overnight stay in the canyon. Whichever route you choose, know that the trail will be rough, slippery, and will mostly involve walking through cold fast moving water.
Which such treacherous terrain, dressing and packing appropriately is paramount. Must have’s include waterproof footwear, sun protection (hat, sunscreen, sunglasses), snacks and water to last the entire hike (no reliable watersources in the canyon), and layered quick drying moisture wicking clothing (synthetic or Merino wool fabrics). We also recommend considering trekking poles for added stability as well as a wet/dry suit during times of colder water temperatures. For those not able to pack accordingly, there are several retail stores in Springdale available with rentals for your every need.
After your hike, take the shuttle back to the Visitor Center and grab some last minute souvenirs. For those who have rented equipment, drive back and return it at this time. Consider having a dry change of clothing in your vehicle as well. For those not returning rentals, you can walk right across the pedestrian bridge, out of the park, to Zion Canyon Brew Pub for some food and celebratory drinks. Note there is also several gift shops and outdoor stores in this plaza to explore as well. After eating and perusing some shops, walk back across the pedestrian bridge into the park. Across the street from the Visitor Center, you will find the Watchman Trail. This is a popular 3.1 mile relatively easy out and back trail with 636 feet of gain. It is conveniently located near the entrance of the park and is also one of the top places to enjoy your final Zion National Park sunset. Not looking for your night to end? Drop your car back off at your residence and walk down to Cowboys and Angels Speakeasy Cocktail Parlour for some late night drinks and merriment before closing the book on this ultimate 3 day Zion National Park itinerary!
Now some quick points on where to stay and mastering the shuttle system.
Mastering the shuttle system:
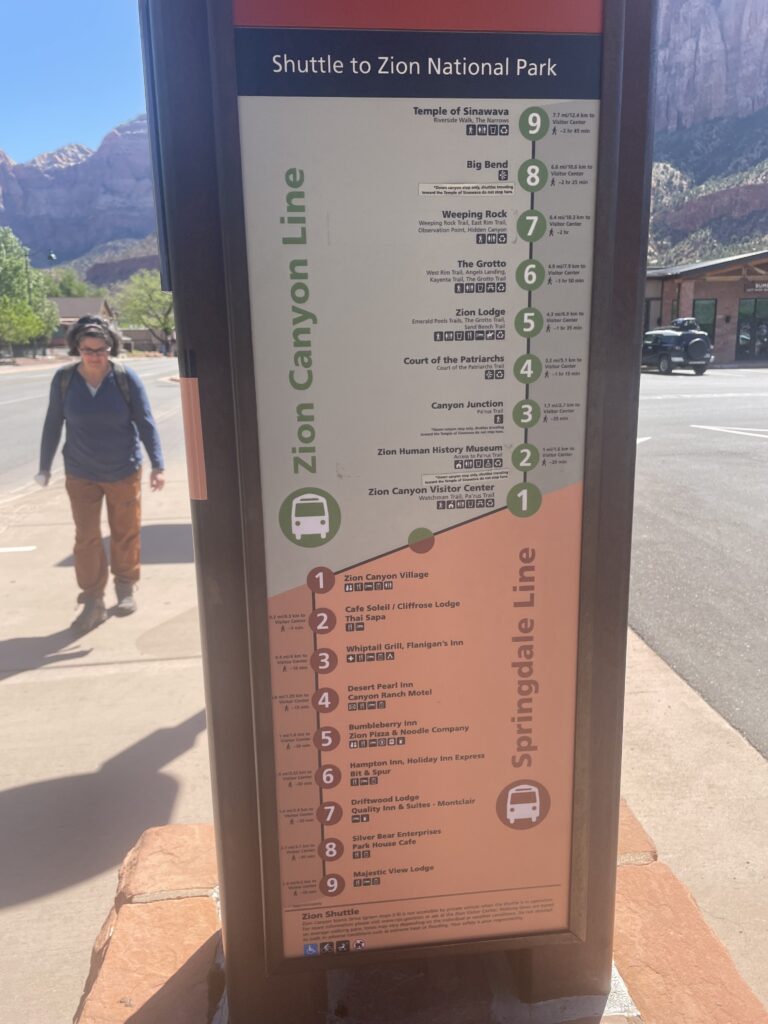
Let’s go over some quick tips for helping you master the shuttle system. First of all, there are 2 shuttles: one is referred to as the Springdale Line and the other is known as the Zion Canyon Line. The Springdale Line has 9 stops along the main road (Route 9) in Springdale and when traveling towards the park ends at Zion Canyon Village. After stopping at Zion Canyon Village, those looking to enter the park then would walk across the Pedestrian Entrance Bridge and check into the park from there. Note that the Springdale line drops you just outside the park and allows you to walk in the pedestrian entrance where you will show your park pass. It does not take you into the park.
The Zion Canyon Line is the second shuttle line. This shuttle is completely inside of the park. Like the Springdale Line, the Zion Canyon Line has 9 stops, traveling up and down the popular Zion Canyon Scenic Drive from the main Visitor Center to the Temple of Sinawava. As previously mentioned, during peak season, the Zion Canyon Line shuttles are the only vehicles permitted on the Zion Canyon Scenic Drive. The first stop is just next to the Visitor Center inside the main entrance and is a very short walk away from the pedestrian bridge.
Last notes. Both shuttle lines are FREE. Both have well marked stops with small covered areas. The stops along the Zion Canyon Line often has restrooms and waterfill stations as well. Regarding the Springdale Line, note that when driving towards the park, the shuttle will not stop at any remaining stops once full. This is important to understand especially during peak season. If the shuttle does not stop because it is full, sometimes it may make sense just to start walking rather than waiting another 20-30 minutes for a shuttle that also may be full.
Click HERE for more shuttle info and a detailed map!
Our top recommendations for lodging:
1. Springdale
- Quaint town of approximately 500 people just outside of the park’s south entrance
- This is our TOP CHOICE and on our most recent trip we stayed at these highly recommended townhouses found on VRBO HERE.
- Do to the town’s proximity to the park, prices are high and availability at times can be low
- Characterized by rustic small town vibes with numerous shops, restaurants, bars, assorted accommodations and a thriving arts scene
- FREE SHUTTLE available throughout the town with dropoff at the park entrance is a huge benefit (especially during peak season when parking inside the park can be scarce)
- Surrounding by the beautiful red sandstone rock formations emblematic of Zion
2. Zion Lodge (inside the park)
- Only lodge accommodations available within the park
- Visitors can choose from historic cabins, hotel rooms or suites, all of which offer rustic charm with modern amenities
- Home to a gift shop, the Red Rock Grill (three meal restaurant), and the seasonal Castle Dome Cafe
- Affords patrons the opportunity to enjoy the park first thing in the morning or late afternoon/night when most other visitors are gone
- Limited availability so book in advance!
3. Camping (inside the park)
- There are 3 campgrounds within the park: Watchman and South Campground are near the south entrance and Lava Point is at a higher elevated point in the park about an hour from the canyon
- Watchman and South Campground have picnic tables, firepits, restrooms and water but NO SHOWERS. Repeat there are no showers located in any of the campgrounds in the park; however pay showers are available in Springdale
- Watchman is open year round and is the most popular campground with RV sites, tent sites and group sites.
- South is seasonal but also very popular with RV and tent sites
- Lava Point is home to 6 primitive (so you need to bring everything including water) first come first serve seasonally open sites located around 7,890 ft elevation
4. VRBO or Airbnb Near Park
- Check VRBO HERE for various listing close to the park
- If VRBO located within Springdale, you can use free shuttle to access the park and leave your vehicle at home if you choose
5. St George, Kanab, other smaller towns
- We understand this category is quite broad lol
- St George is the largest population center near Zion National Park and has an airport that some choose to use when visiting the park.
- St George has tons of accommodations, restaurants, medical centers, stores and is much like any other city of over 100,000 people; however it is approximately 30 minutes from the Kolob Canyon Visitor Center and 60 minutes from the Zion National Park South Entrance
- Kanab is a adventurous town of over 5,000 people located approximately 45 minutes from the east entrance of the park.
- The distance to Zion is a detractor for staying in Kanab, however, this town is closer to Antelope Canyon, Horseshoe Bend, Bryce Canyon, the Grand Canyon, and other prominent attractions
Other Top Posts!
24-Hour Off-Season Itinerary for Vail, Colorado
Vail may be known for it’s slopes, but there is still plenty to do in the town’s budget-friendly off-season!
24-Hour Off-Season Itinerary for Independence Pass and Aspen, Colorado
From crossing the infamous Independence Pass to hiking at the Maroon Bells, plan your perfect day trip to Aspen, Colorado!

A 24-Hour Autumn Escape to Cooperstown, NY
From a fall foliage train to a family-friendly brewery, this Cooperstown itinerary will give you all of the autumn feels!
Exploring Denver and the Surrounding Areas
Hitch along with my college friend and local Coloradan as we explore Denver and the surrounding area with quick stops and day trips alike!

24-Hour Off-Season Itinerary for Breckenridge, Colorado
From a ski lodge-themed cafe and mining exhibits, to a giant troll in the woods and alpine lakes, there’s a lot to do in Breckenridge all year!
Epic Day Trip From Zion to Antelope Canyon
Looking to plan your day trip from Zion to Antelope Canyon? Join us on an epic adventure from Zion to Antelope with some epic stops in between!
