Love For The Mountains
Dating back to my early childhood years, I found myself deeply infatuated with the mountains, hiking, and climbing. More specifically, though, I was fixated on Mt. Everest. I’ve read numerous books about Mt. Everest, including the 3 book series: “Everest Adventure Series” by Gordan Koman, as well as, “Into Thin Air,” and “The Climb,” just to name a few. I’ve watched documentaries, TV shows, and countless hours of YouTube videos recounting the experiences of many avid mountaineers on Everest. However, learning that my childhood neighbor climbed to the basecamp of this distinguished mountain turned Mt. Everest from an inanimate object, into a palpable statue, rising over 29,000 ft. above sea level.
Over the past 8 years I’ve compiled a list of summits I want to reach in my lifetime. Some relatively easy, some hard, and some receive a scoff and a head shake from those who, well, those who will never understand. Truth is, I’m here to find my limit, and each summit is a quest to do so. Mt. Whitney stands near the top of that list. My recent summit of Whitney was a life changing experience with a close friend of mine, and I want to share our adventure with you.
Mount Whitney
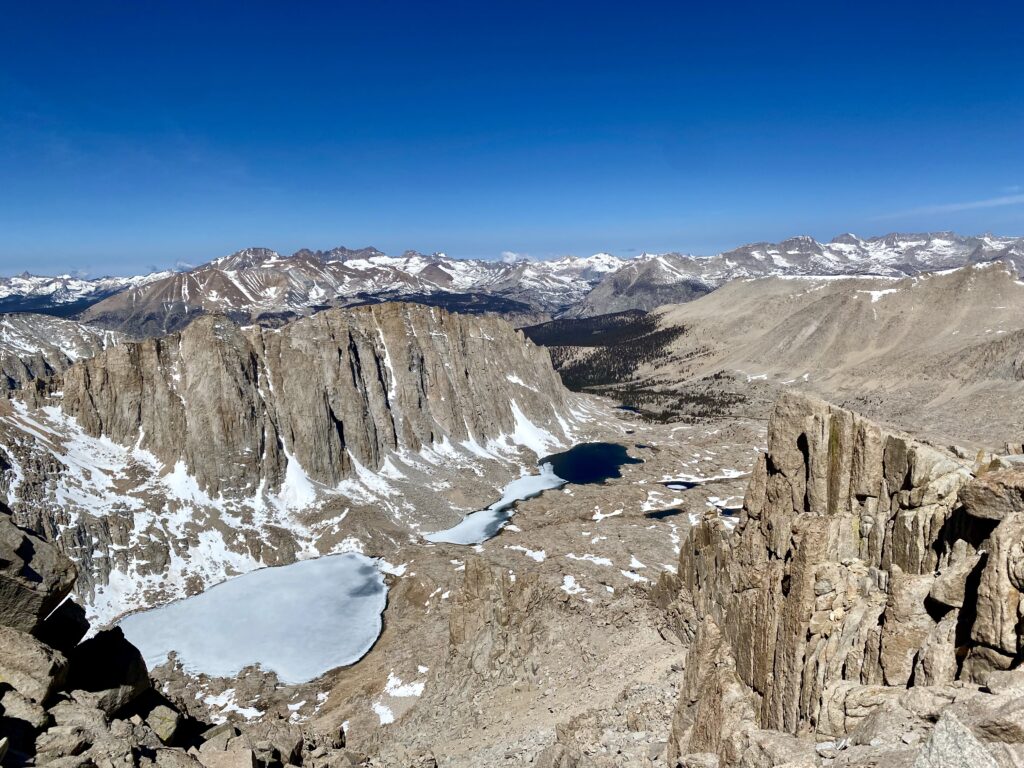
Mount Whitney stands 14,505 ft tall and is situated in the Eastern Sierra Nevada mountains near Lone Pine, CA. Fun fact, many classic western movies were filmed around Lone Pine, CA in the foothills of Whitney. Mount Whitney is the highest peak in the Contiguous (lower 48) United States, and, ironically enough, is about 85 mi west of the hottest, and lowest geographical point in the United States – Death Valley, which sits 282 feet below sea level. Facts like this make me realize how remarkable the southwest US really is.
The Lottery
To climb Mount Whitney you must obtain 1 of the 2 types of permits – a day pass, or a single overnight pass (I applied for a day pass). The day pass is active for 24 hours within the “Whitney Zone,” and the overnight pass is active for 48 hours, which includes 1 overnight stay at your choice of the various camps throughout the trail. Each year, permit applications can be submitted online (recreation.gov) starting February 1 – March 15. You have the opportunity to select 15 dates, and can include up to 10 people for each permit. The catch is that this is by lottery. If you are in the 13% of the population lucky enough to be chosen that year, you are subject to the date chosen by the lottery. Each year, on March 24, the lottery results are posted. But, if you don’t get selected, you still have a chance! The unclaimed permits become available on a first come, first served basis on May 1, 7am PST.
The climbing season for Mount Whitney is May 1 – Nov. 1. This is when permits are required, and when weather is more optimal from the trail head to the summit. The “non-quota” season is Nov 2-April 30 the following year. While a permit is not required, you fall subject to more unpredictable, dangerous conditions on the mountain. The non-quota season is when the majority of deaths and search and rescue missions occur. Whitney averages about 4 deaths per calendar year.
Congratulations, You're In!
My buddy Ben and I were selected for a permit date of May 20, 2022, which was one of the earliest dates we applied for. The weather this time of the year can still be unpredictable and you can encounter snow storms, heavy wind, and cold summit temperatures.
Living in Scottsdale, AZ, an elevation of about 1,200 ft, it was hard for me to train for the elevation. I knew my physical fitness was where it needed to be, but Acute Mountain Sickness (AMS) can ruin anyone’s day on the mountain. For the average climber, AMS symptoms can start around 9,000 ft. I’ve hiked numerous mountains in Arizona ranging from 10,000-12,600 ft, without symptoms, so I was hopeful this would remain true for Whitney.
Training
The Mount Whitney Trail is a 21-22 mi out and back trail that gains 6,640 ft of elevation. 13,000 feet of elevation change and 15+ hours climbing and trekking can make for a long day, and so training needs to reflect this effort.
My “training” for Whitney did not stray far from my day to day and week to week training. I continued with my 5-6 day of strength training, in which 3 of these were dedicated to lower body strength and endurance. I ran 3-6 mi, 1-2 days per week, and hiked at least 1 day per week on local mountains and trails, including Camelback Mountain and Piestewa Peak. These two mountains were great and were able to mimic the steepness/grade of Whitney, but at a fraction of the distance and elevation gain. If you don’t have access to altitude for training, there are a few strategies to mimic the depleted oxygen you will experience at 14,000 ft. One strategy I used was strict nasal breathing with zone 1- zone 2 cardio. Think stair stepper or walking on a treadmill with incline, aiming for a heart rate of 135 bpm only breathing in and out of your nose. Another strategy is to exhale all your air, hold your breath and perform body weight exercises (push ups, squats, jumping jacks) until failure. This will improve your body’s ability to adapt to functioning with less oxygen.
Lone Pine, CA
As I mentioned above, Lone Pine is a small western town located near the foothills of Mount Whitney/ Eastern Sierra Nevadas. The population is about 1,500 people, and it seems as though tourism financially backs this small community. We arrived at Lone Pine around 1pm the day before our climb (May 19) to check into our Airbnb, grab some lunch, last minute supplies we needed for our climb, and finally some dinner.
Food:
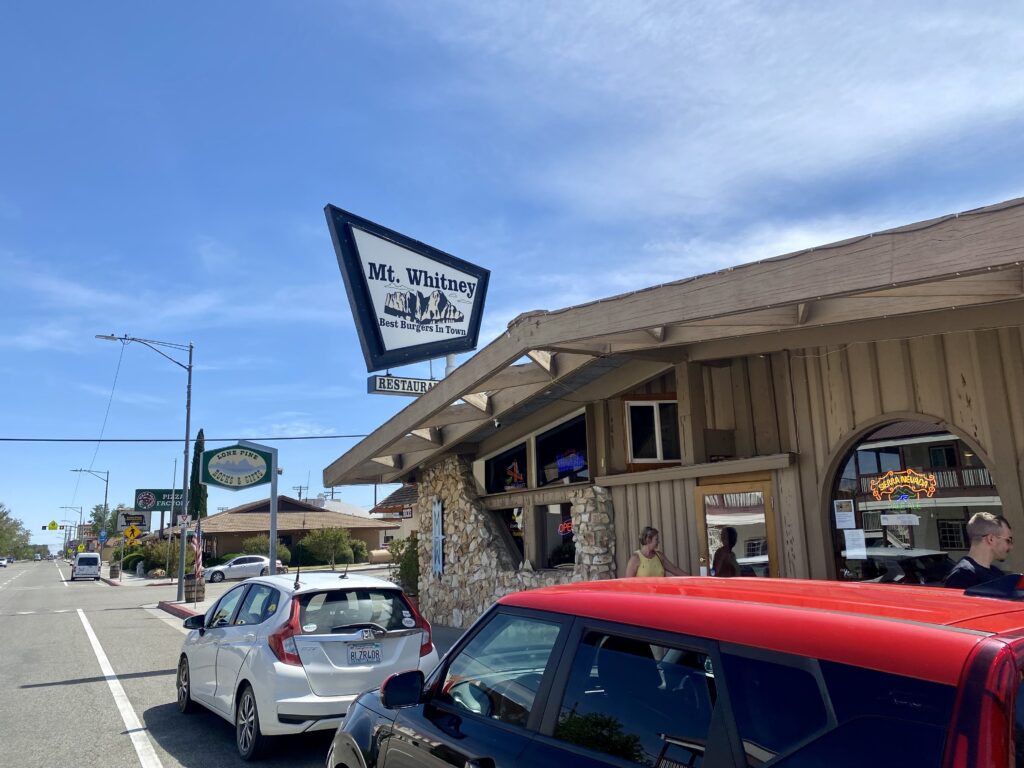
There are many mom & pop restaurants in Lone Pine. We ate at the Mt. Whitney Restaurant, which boasts having the “best burger in town.” Despite the urge to chow down on a burger, I fuled up with a massive plate of pasta and meat sauce. While here, we saw, who we presumed to be, other hikers fueling up for their climb the following day. We also overheard conversations of Pacific Crest Trail hikers who were in town on their journey from Mexico to Canada. This is definitely an outdoorsy town! Later on that evening, we ate at a fantastic BBQ restaurant in town called Lone Pine Smokehouse. Their BBQ was delicious, and their cornbread was AMAZING.
Stores/shops:
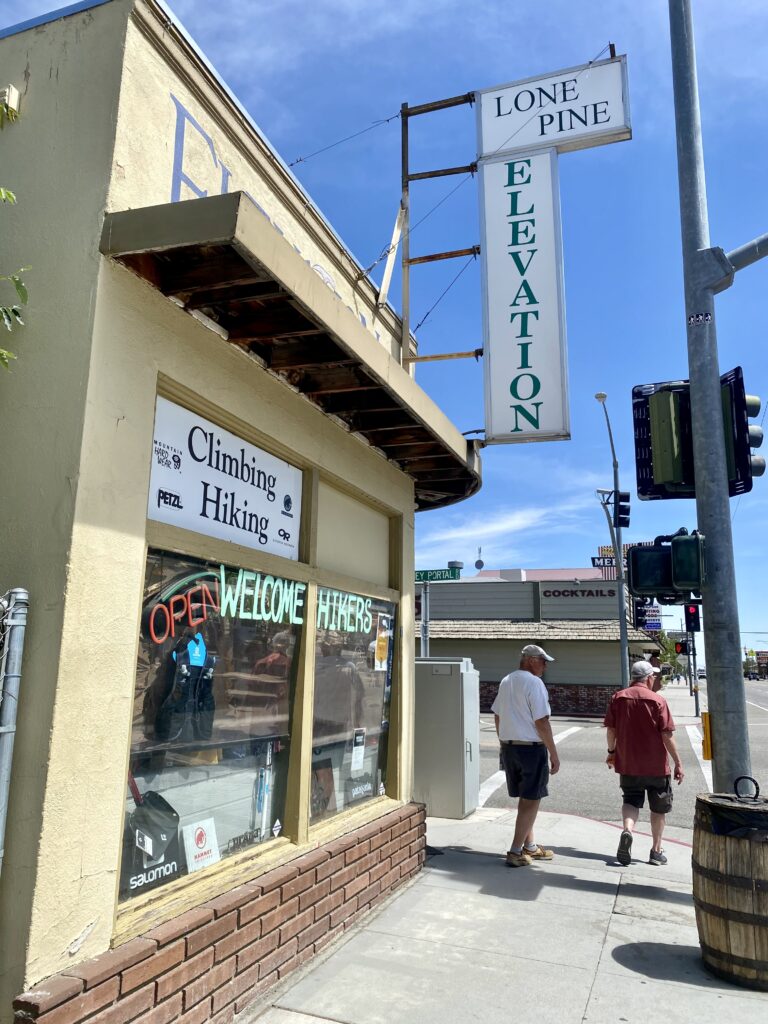
We traveled to Lone Pine with all the gear we needed, but should you leave something at home, there are numerous outfitters in Lone Pine where you can purchase anything from hiking packs, poles, shoes, boots, electrolytes, trail food and snacks, crampons, micro spikes, ice axe, sunglasses, and much more. So rest assured that if you forget supplies or need more, these outfitters have you covered!
Gear and Nutrition
A wise man once told me that preparation is key. When climbing and hiking in unfamiliar territory, it is essential that you do as much research and prep as possible. About 3 months before the climb, I joined the Mt. Whitney facebook page in which hundreds of members share stories and insight into their experience with trail conditions, necessary gear, potable water, and any other tips to help prepare fellow hikers. Their trip reports are invaluable, and if you plan to climb Whitney, you must JOIN THIS GROUP! Another piece of my prep was tracking the weather for Whitney. I found a great resource (mountain-forecast.com) that gives outstanding weather reports at various elevations on the mountain. This allowed me to plan for temperature, wind, and precipitation, which was beneficial for appropriately layering my clothes.
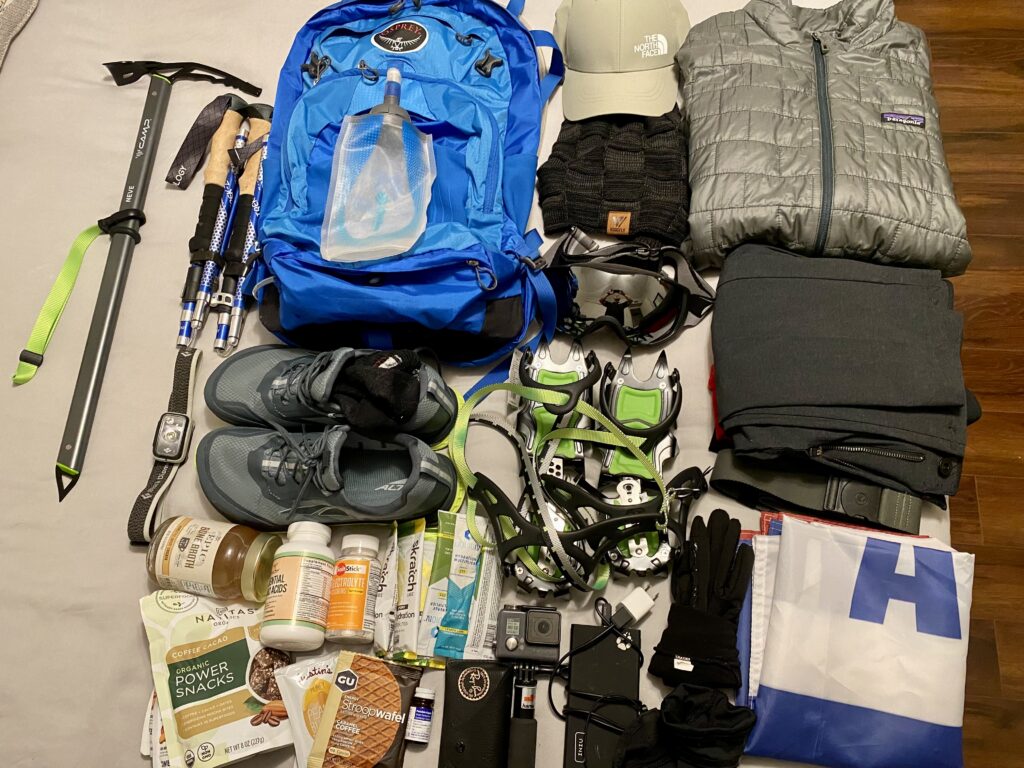
Gear: 28 L Osprey (hydration) pack, hiking poles, crampons, microspikes ice axe, lightweight waterproof hiking pants, shoe gators, altra waterproof trail shoes, waterproof wool socks, lightweight patagonia puffer jacket, moisture wicking base layers, wind breaker, lightweight waterproof gloves, neck gaiter, lightweight moisture wicking beanie, helmet (if you’re doing the mountaineers route), headlamp, sunglasses, InReach. This is my suggestion for the months of May, early June, and October. The warmer months you can subtract the winter layers and mountaineering gear. I also recommend using the AllTrails app, and pay for the Pro version so that you can download the trail map. Most importantly you MUST bring a WAG bag. Whatever you pack in, you MUST pack out! Yes, even your poop.
Nutrition: At least 3-4 L of water, water purification tablets/water filter, collapsible water bottle, 8-10 Liquid Iv’s, salt sticks, EAA’s, bacon, uncrustables, stroop waffles, poptarts, sweet potatoes, Fuel for Life protein pouches, caffeine gum. The warmer the weather, the more electrolytes and salt you need. Gels and goos (sugar) don’t cut it for a 12-22 hour endeavor. You need sustainable energy, which is why I chose food higher in fat, particularly bacon.Ultimately, you need to do what works best for you. If you haven’t used EAA’s for sustained endurance activities, you’re missing out on a next level source of energy and stamina.
The Climb
Mt. Whitney has two routes that will take you to the summit. The most traveled route is the main trail – The Whitney Trail. The lesser traveled route is the Mountaineers Route.
The Mountaineers Route (MR)
The MR is an 8.8 mi out at back trail that begins at Whitney portal, following the main trail for about 0.8 mi, but branches off into its own trail and turns North to the North Fork of Lone Pine. This trail presents its array of scrambling challenges. If you have an overnight pass, there are opportunities for camping at Lower Boy Scout Lake, Upper Boy Scout lake, and Iceberg Lake. From Iceberg Lake, you push to the summit, where you will encounter class 4-5 routes, requiring skill with ropes, carabiners, steep scrambling, etc. During the winter season, the MR has its own steep snow chute, requiring an ice axe, crampons, and other winter mountaineering gear, at the least.
Mount Whitney Trail
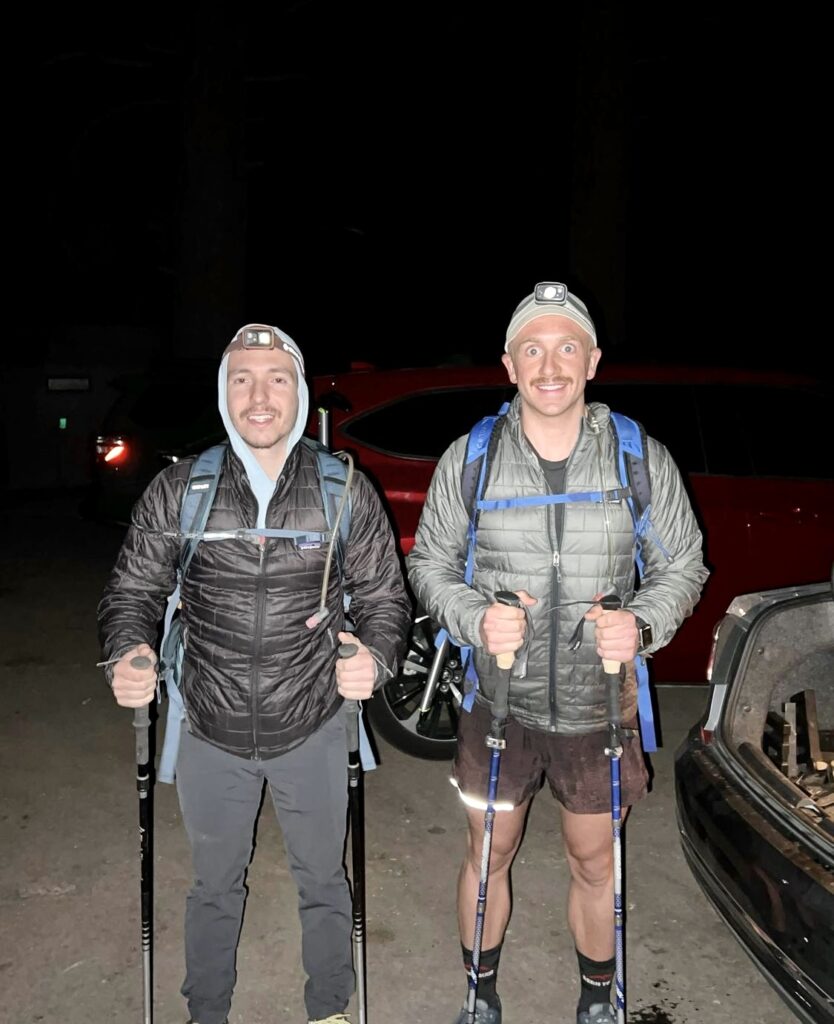
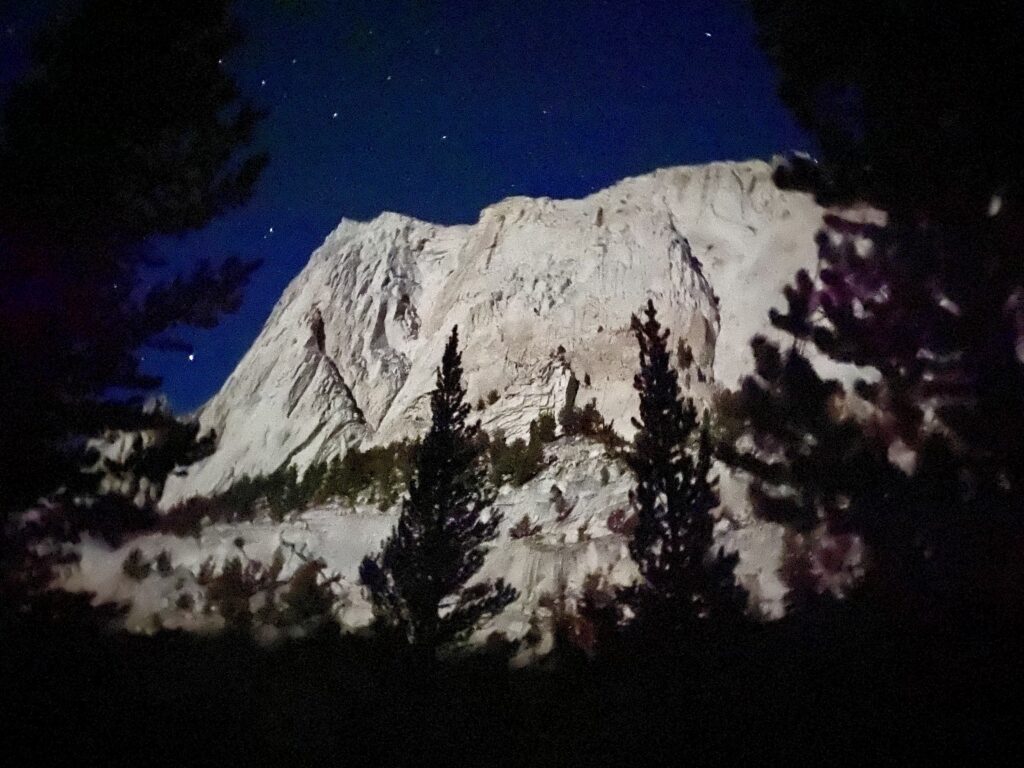
The MWT starts at the Whitney Portal (elev 8,374ft), and is a 20.9 mi out and back, which requires little to no mountaineering – unless you decide to take the snow chute (more on that later). We had a 1am wake-up call, followed by a 20 minute drive up to Whitney Portal. Leaving Whitney portal at 230am, Ben and I began climbing and were gaining elevation steadily as we passed through just a few of the many switchbacks. This portion felt more like traditional trekking as we quickly moved through the first few miles in the dark sky, illuminated only by our headlamps and full moon peeking through the towering walls of granite.
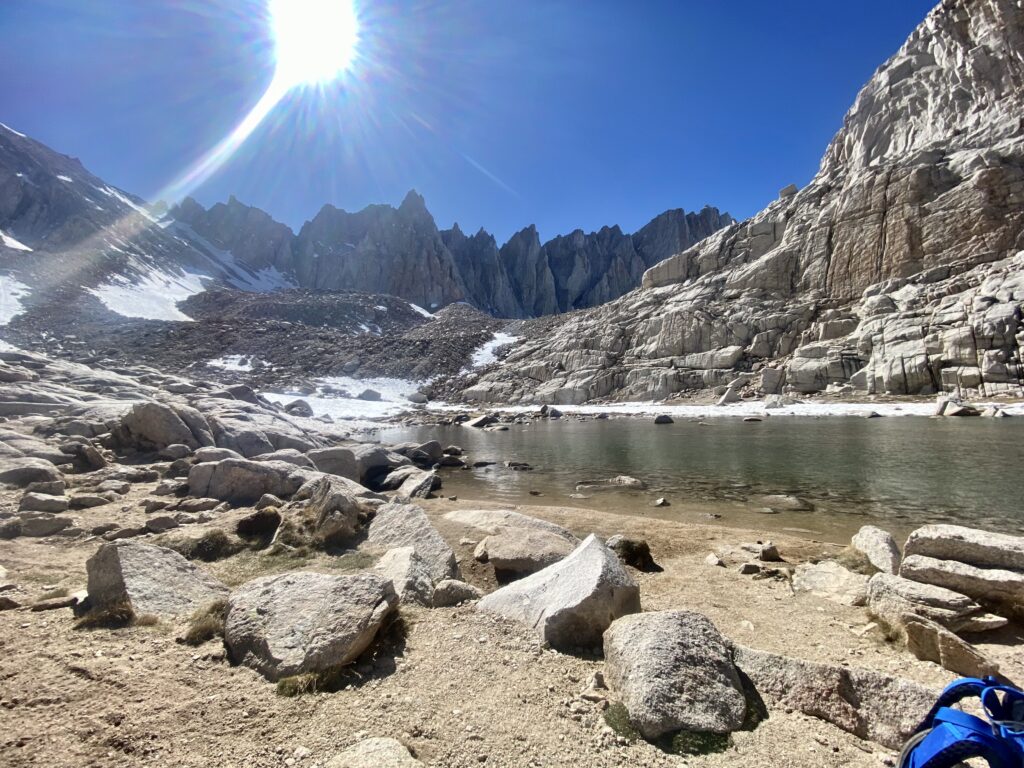
As we made our way up the MWT, 2.8 mi in, we encountered Lone Pine Lake (elev. 9,900 ft.) This is the first of a few of the camps available. From here, we entered “The Whitney Zone,” in which permits are required for the rest of the climb. After 3.8 mi of trekking we reached Outpost Camp (elev 10,300 ft), another popular option for an overnight stay. From outpost camp we passed Mirror Lake as we made our way towards Consultation Lake and Trail Camp (elev 12,000 ft). This area can be quite windy, as you are exposed to the many elements of the mountain. This is a great place to stop, eat, refill your water pack (filter or use purification tablets). Many people choose to camp here, but be prepared for a chilly night earlier and later in the climbing season! We fueled up, put on our crampons, and departed for the accent up the chute.
From trail camp, you begin your push to the summit. There are two options, the 99 switchbacks, and the snow chute. The 99 switchbacks are the “easier” option, but we trekked on to the base of the snow chute.
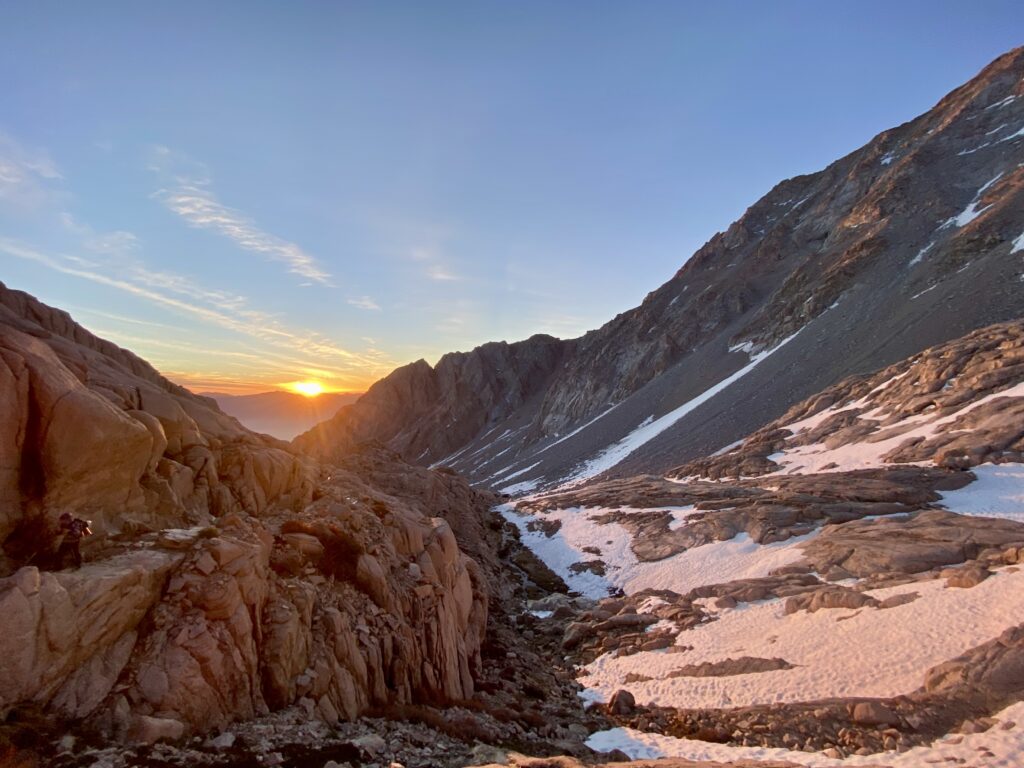
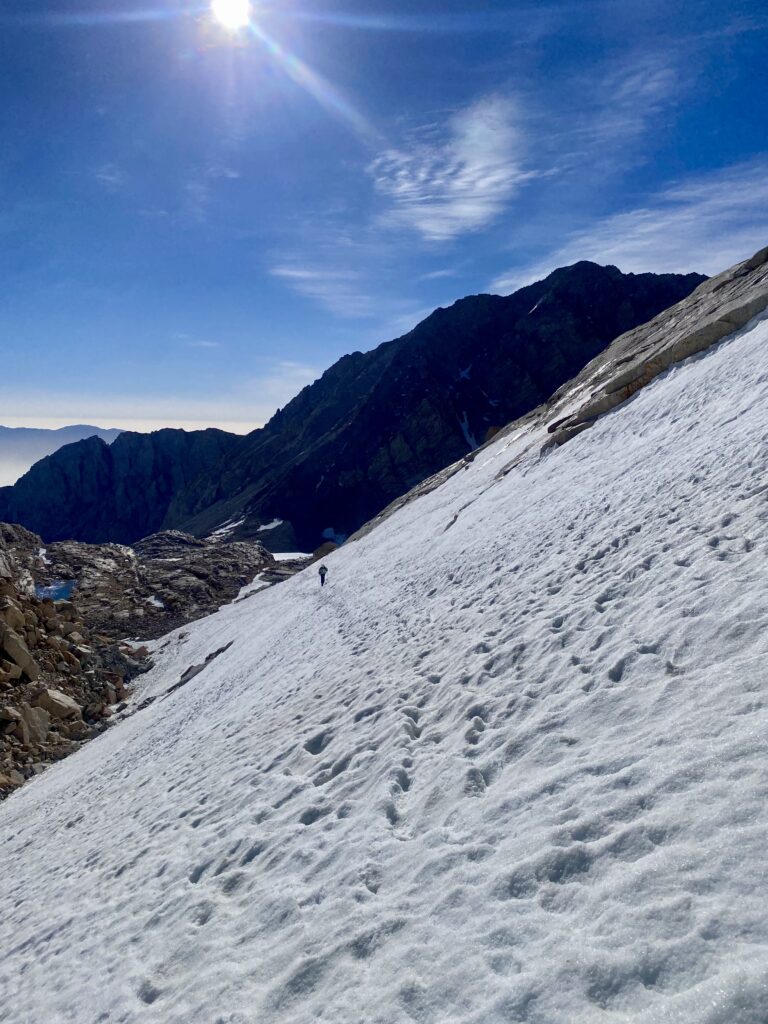
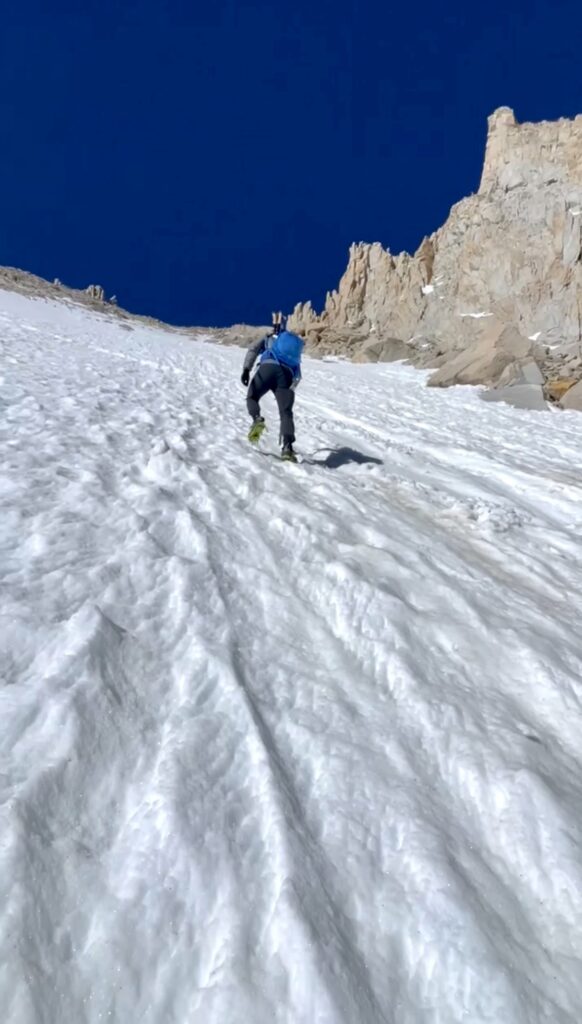
The snow chute is at least 3-4 feet of compact snow and ice. Portions of this will become waist deep, especially as the sun warms the snow. The average grade of this chute is 37%. Crampons and ice axe are a necessity, as are your self arrest skills, which can save your life if you slip and start sliding down the mountain. We gained over 1,200 ft of elevation over .75 of a mi, oftentimes digging ourselves out of waist deep snow with our ice axe. The snow chute apex joined the end of the 99 switchbacks, and by God, we arrived at Trail Crest! I can still picture the scene of Ben and I sitting near Trail Crest, overlooking the steep chute, pondering, silently to ourselves a similar thought; Why did we ever think that was a good idea? One of the subtle ironies of adventuring with friends – sharing the same speechless thoughts.
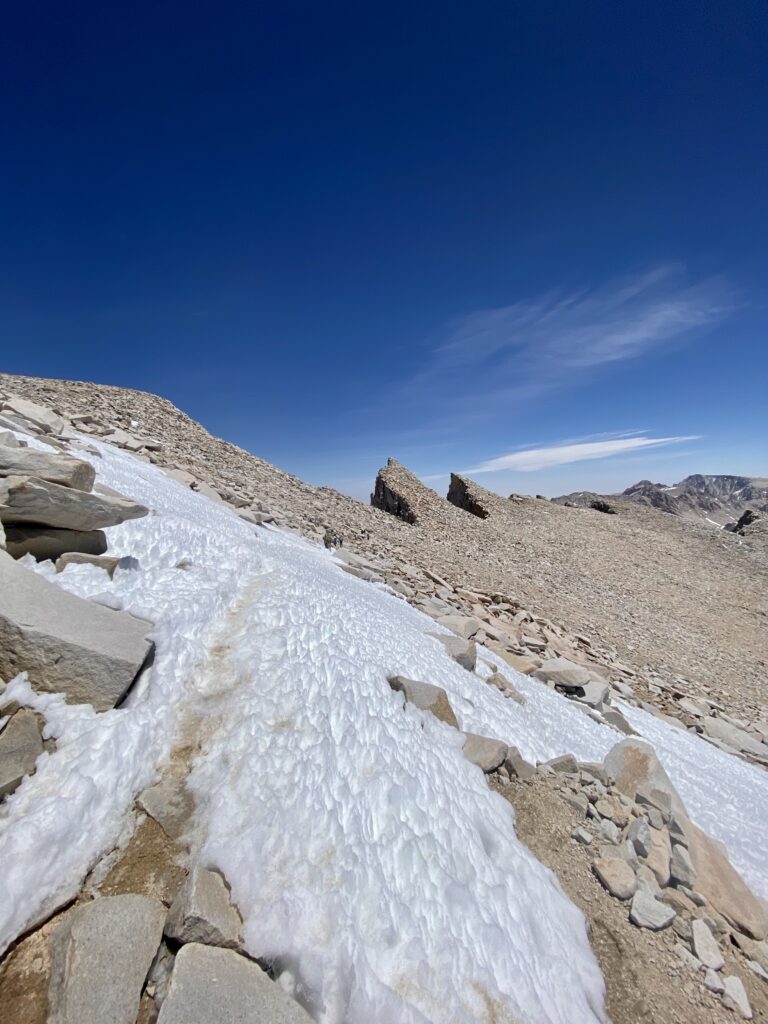
Trail Crest sits at 13,600 ft, and is 1.9 mi from the summit. Trail Crest is known for its breathtaking views of Sequoia National Park, Hitchcock Lake, and the Whitney Zone, but interestingly enough it’s one of the most exposed and narrow passes in the United States. From Trail Crest, we pushed on, entered Sequoia National Park, and gained another 900 feet of elevation to the summit. This was the LONGEST 1.9 mi I have ever trekked as the elevation began to affect our breathing, and we were paying greater attention to our footing. It was along this route I met some of the most encouraging people I’ve ever met in my 29 years. By now, everyone is going through the same proverbial “hell” that you are, and each person we passed raised our spirits higher than the mountain we were on. Ben and I made several friends along this portion of the trail, and if it weren’t for their infectious personalities, this adventure wouldn’t have been nearly the same. There is something special about making friends on an adventure.
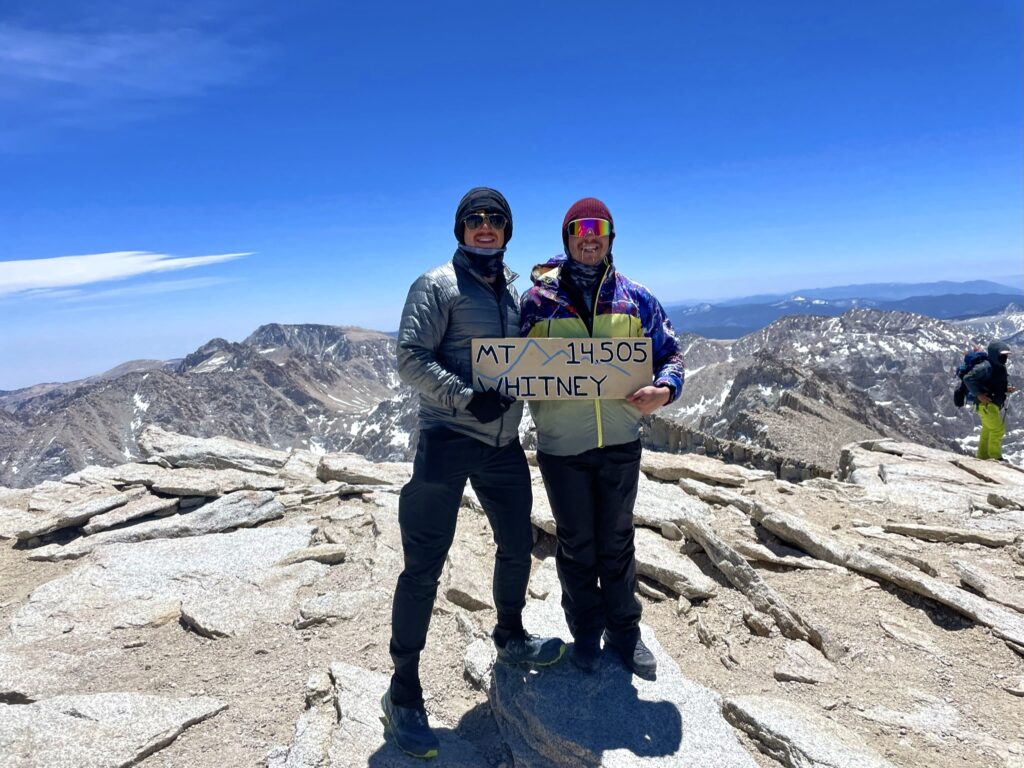
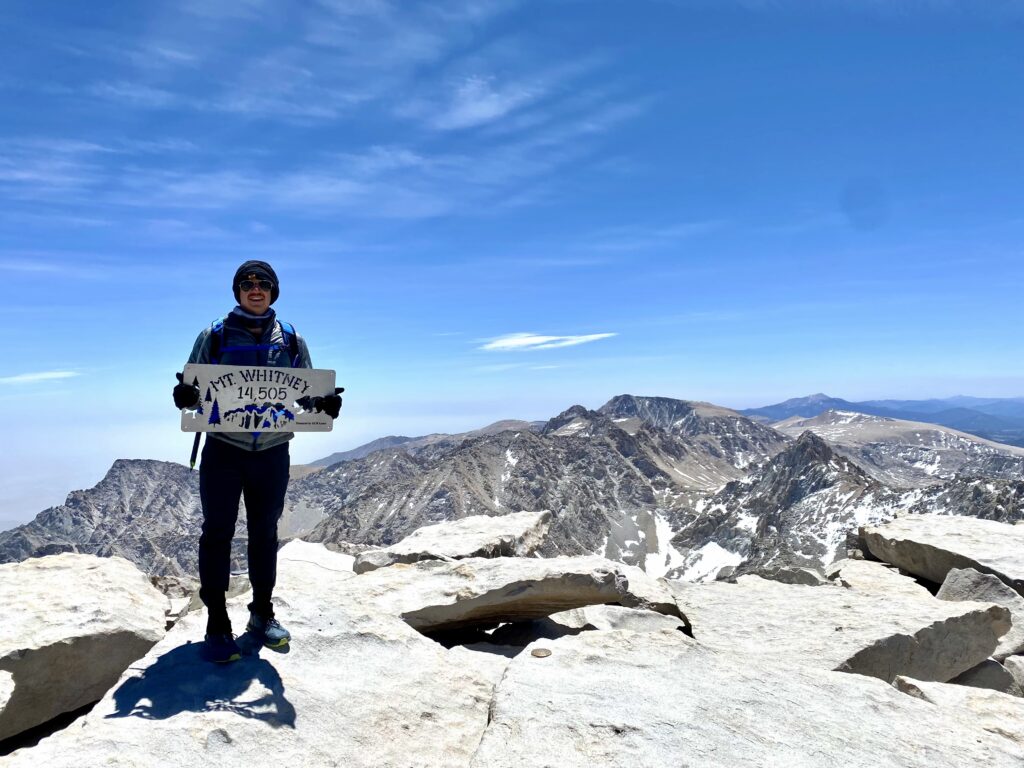
Finally, after an hour and 20 minutes after leaving Trail Crest, and about 9 hours after leaving Whitney Portal we reached the summit. The scenery, the 360 degree view, the crisp cold air was unlike anything I’d experienced. An emotional moment of peace came over me as I sat, took a deep breath and gazed at the horizon of mountains that seemed to go on forever. I felt like I was on top of the world. This was a unique moment I was glad to share with a long time hiking partner.
After 45-60 minutes at the chilly summit it was time to descend. Over the next 6-7 hours, I learned a valuable lesson – The climb down is, and will always be, WAY longer than the ascent. While it took less time, mentally, and physically it felt twice as long. Looking back, it became apparent to me that when you start a hike in the dark night, you never obtain a feel for the surrounding landscape, thus having no landmarks to tell you just how far you are from the trail head. We reached Whitney Portal between 6-7pm that evening.
A Life Changing Experience
Mount Whitney gave me a deeper appreciation and admiration for the mountains. The landscape of the Eastern Sierra Nevada Mountains was unlike anything I’ve ever experienced, and I know that someday I’ll be back. While some adventures in life can, and should, be done alone, there is nothing quite like adventuring with friends, old and new.
I don’t know where my limit is, but someday I will find it. Maybe it’s Mt. Rainier or Mt. Kilimanjaro, or maybe it’s Denali. But with any luck, I’ll find my limit in the Himalayas sitting on top of the world at 29,032 ft on Mt. Everest.
Other Top Posts!
24-Hour Off-Season Itinerary for Vail, Colorado
Vail may be known for it’s slopes, but there is still plenty to do in the town’s budget-friendly off-season!
Ultimate 3 Day Zion National Park Itinerary
Zion National Park is a stunning and diverse landscape located in southwestern Utah. Read and discover how best to plan your ultimate 3 day itinerary in this magnificent place!
24-Hour Off-Season Itinerary for Independence Pass and Aspen, Colorado
From crossing the infamous Independence Pass to hiking at the Maroon Bells, plan your perfect day trip to Aspen, Colorado!

A 24-Hour Autumn Escape to Cooperstown, NY
From a fall foliage train to a family-friendly brewery, this Cooperstown itinerary will give you all of the autumn feels!
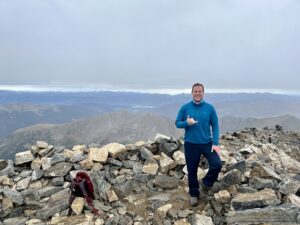
Exploring Denver and the Surrounding Areas
Hitch along with my college friend and local Coloradan as we explore Denver and the surrounding area with quick stops and day trips alike!
24-Hour Off-Season Itinerary for Breckenridge, Colorado
From a ski lodge-themed cafe and mining exhibits, to a giant troll in the woods and alpine lakes, there’s a lot to do in Breckenridge all year!
